How to Add Wired Networking to an Old House
How to Add Wired Networking to an Old House: Cable Routes Without Tearing Up Walls
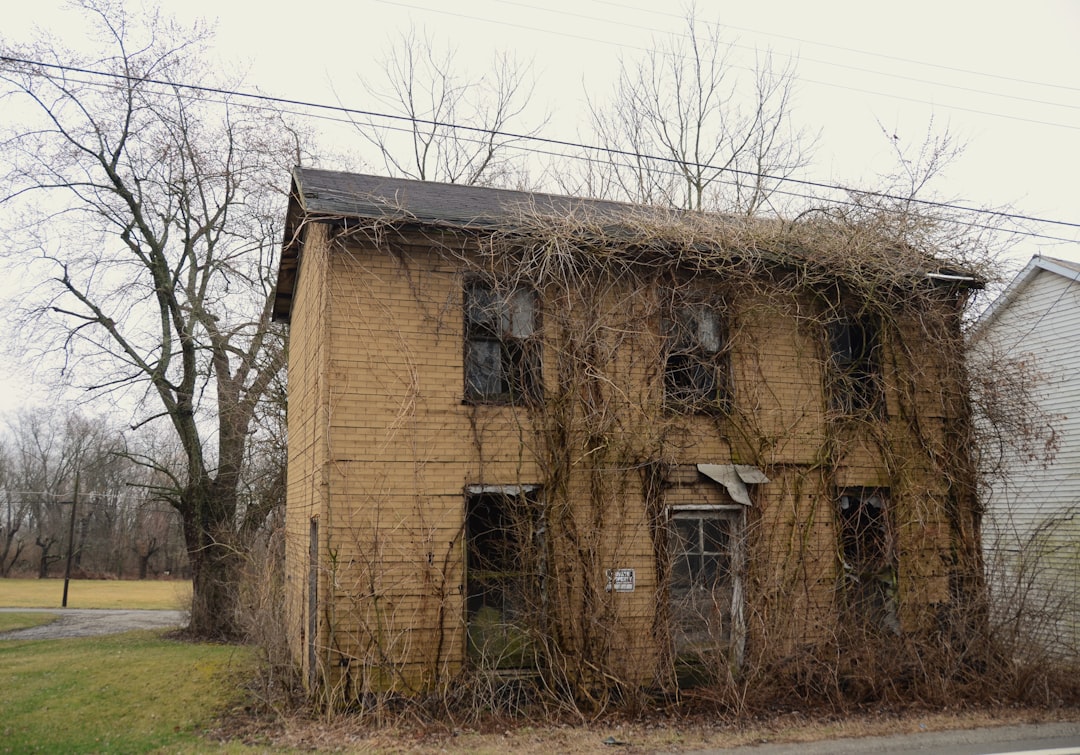
Old houses have charm, character, and absolutely zero network cabling. Running Ethernet through lath-and-plaster walls, horsehair insulation, and floor joists that predate electricity isn’t fun — but it’s doable if you know the tricks. Here’s how to add a wired network old house setup without hiring a contractor or destroying your home’s historic character.
A successful wired network old house project starts with a floor plan and a realistic assessment of which walls you can and can’t drill through.
The IEEE standards for Ethernet cabling don’t care how old your house is — Cat6A delivers the same 10Gbps performance through 1920s lath-and-plaster as it does through modern drywall. The challenge is physical: getting the cable from point A to point B without creating damage that costs more to repair than the cable itself.
Planning Your Cable Routes Before Touching Anything
Walk through your house with a notepad and sketch out where you need network drops. Resist the urge to wire every room “just in case.” Focus on locations that actually benefit from wired connections: your network rack location, home office with a desktop, TV/media center, any location with a NAS or server, and rooms where you game or do video calls.
Identify your cable paths using these priorities in order:
- Existing cable pathways — Anywhere coax, phone, or electrical cable already runs is a potential Ethernet route. These paths were already cut through studs, joists, and walls. Following them dramatically reduces work.
- Closets and utility chases — Closets that stack vertically between floors are goldmines. The wall between two closets often has a continuous cavity from attic to basement. Same for plumbing chases and furnace flue surrounds.
- Attic and basement access — If you have an unfinished attic or basement/crawlspace, you can run cable horizontally there and then drop it down through walls at each destination. This is the standard approach for most single-family homes.
- Cold air returns — HVAC return air ducts are large, run between floors, and are accessible. You can run cable inside return ducts (not supply ducts — those have pressurized air that can damage cable). Check local building codes first, as some jurisdictions restrict this.
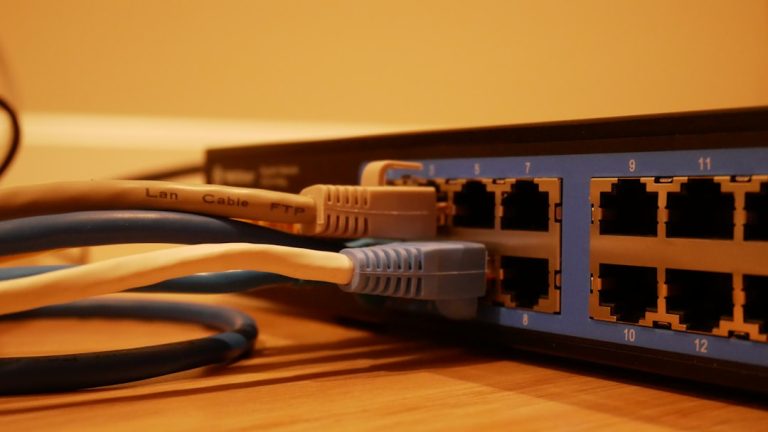
Choosing the Right Cable
💰 Buy on Amazon → Cat6A cable
For any new cable runs in an old house, use Cat6A cable. Yes, it’s slightly thicker and stiffer than Cat5E or Cat6, but it supports 10Gbps up to 100 meters and future-proofs your runs for a decade or more. The marginal cost difference (about $0.15/foot more than Cat6) is irrelevant when you’re only running cable once and the walls are staying closed.
Buy riser-rated (CMR) cable for in-wall runs. It has better flame retardant properties than general-purpose cable and is required by code in many jurisdictions. Plenum-rated (CMP) is only needed if you’re running through air handling spaces (return ducts, dropped ceilings with open air returns).
For cable type guidance specific to your speed goals, our cable comparison guide covers the technical differences and when each type makes sense.
Tools You Actually Need
💰 Buy on Amazon → Fiberglass fish tape or glow rods
💰 Buy on Amazon → Ethernet wall plate
Don’t buy a $500 fishing kit. You need:
- Fiberglass fish tape or glow rods — A 25-foot set of flexible fiberglass rods that connect together. Much easier to work with than metal fish tape in old houses where you might encounter old wiring or nails.
- Stud finder — A decent one that detects both wood studs and live electrical wiring. You absolutely do not want to drill into a live wire in a 100-year-old house with cloth-insulated wiring.
- Right-angle drill with extension — For drilling through joists and studs from above or below. You need the extension to reach past finished surfaces into wall cavities.
- Keyhole saw or drywall saw — For cutting small access holes. Make them small and place them where they’ll be hidden: behind furniture, low on walls behind baseboards, or in closets.
- Low-voltage old work boxes — For clean Ethernet wall plate installations. These mount in drywall or plaster without needing a stud behind them.
- Cable tester — A basic continuity tester to verify each cable before closing everything up. Finding a bad crimp after patching plaster is not a fun discovery.
Working with Lath-and-Plaster Walls
Lath-and-plaster is the biggest challenge in old house networking. It’s brittle, cracks easily, and the horizontal lath strips behind the plaster block direct downward fishing. Here’s how to handle it:
Instead of trying to fish cable vertically through a plaster wall, run cable horizontally above the ceiling or below the floor, then drop down into each room through a small access hole. The ceiling/floor cavity is usually more accessible and less destructive to navigate.
When you must cut into plaster, use a sharp utility knife to score the cut line first, then use a drywall saw. The scoring prevents the plaster from cracking beyond your intended cut. Cut small, rectangular access holes (4×4 inches max) rather than long slits. Small holes are easy to patch; large cuts require plaster repair skills.
For dropping cable down from the attic, remove a baseboard, cut a small notch in the top of the wall plate (the horizontal 2×4 at the bottom of the wall), and push cable down from above. Use glow rods to guide it if needed. The baseboard covers the notch when you reinstall it.
Dealing with Knob-and-Tube Wiring
If your house has knob-and-tube wiring (common in homes built before 1950), be extremely careful. The ceramic knobs and tubes that support the wiring create physical obstacles in wall cavities. More importantly, the wiring is old, has no ground wire, and the insulation is often deteriorated. Drilling or fishing near it can damage the already fragile insulation.
Best practice: keep your Ethernet cable runs at least 12 inches away from any knob-and-tube wiring. Use a non-contact voltage detector to confirm no live wires are near your drill path before making any holes. If you encounter K&T wiring during a run, reroute rather than risk damaging it.
This is also a good time to consider having an electrician evaluate your K&T wiring. Many insurance companies won’t cover homes with active knob-and-tube circuits.
Running Cable Through the Attic
The attic is usually the easiest pathway in old houses. Most attics are unfinished with exposed joists, giving you clear access to drop cable into any room below.
Run your main trunk line along the center of the attic, stapled to the top of joists (not laying on the insulation — that can cause overheating with some cable types). At each room location, drill a 3/4-inch hole down through the top plate (the horizontal 2×4 at the top of the wall) and feed your cable down into the wall cavity.
Use a weight (a small bolt tied to a string) to drop the cable down through the wall. It should hit the bottom plate. Cut a small hole in the wall at the bottom plate height, fish the cable out, and run it to your wall plate location. Patch the holes with spackle or, for plaster walls, appropriate plaster patch compound.
When Running Cable Isn’t Practical: Alternatives
Sometimes the walls simply won’t cooperate. In those cases, consider:
- MoCA adapters — Use existing coax cable for gigabit networking. See our MoCA adapter guide for specific product recommendations.
- Surface-mount cable raceways — Plastic channels that stick to walls and hide cables. Not pretty, but functional. Paint them to match your walls for a less obvious look.
- Carpet-edge cable routing — If you have wall-to-wall carpet, you can sometimes fish flat Ethernet cable under the carpet edge (where carpet meets baseboard) without removing the carpet.
Labeling and Documentation
💰 Buy on Amazon → cable tester
A good cable tester helps verify connections. Label both ends of every cable before you close anything up. Use a label maker or masking tape with a Sharpie. Create a simple diagram showing which wall plate number corresponds to which switch port in your network rack. Five years from now, when you need to troubleshoot a connection, you’ll be grateful you spent five minutes on this.
For the complete network design process, our home network wiring guide covers panel layout, cable management, and testing procedures.
Wired Network Old House — Final Tips
💰 Buy on Amazon → Home Depot
💰 Buy on Amazon → wall plates
Plan your routes thoroughly before making any holes. Use existing cable pathways wherever possible. Buy Cat6A for future-proofing. Keep cable away from old knob-and-tube wiring. Label everything. Test every cable before closing walls. It’s more work than networking a new-build, but the result is the same: fast, reliable, wired connectivity in every room that needs it.
Additional Resources
This Old House’s electrical and networking guides cover running cables through finished walls, including techniques for fishing wire through fire stops and around obstructions that are common in homes built before 1960.
Home Depot‘s networking installation guide provides practical advice on tools, cable types, and wall plate installation — useful if you’re new to running Ethernet and need a baseline understanding of the physical components involved.
How-To Geek’s home networking guide covers the networking side — how to plan your cable runs, where to place your switch/patch panel, and how to test connections after installation.
Minimizing Damage to Historic Materials
When adding a wired network old house setup, the biggest risk isn’t the cable routing itself — it’s the holes you cut to access the wall cavities. In homes with lath-and-plaster walls, standard drywall saws create jagged holes that are difficult to patch convincingly.
Use a hole saw with a dust shroud instead. A 2-inch hole saw creates a clean, circular opening that’s easy to patch with a pre-made wall patch kit. For plaster walls, score the outline with a utility knife before cutting to prevent cracking beyond your intended opening.
If your home has crown molding or baseboards that you don’t want to disturb, consider surface-mount cable channels. Cable Matters and Monoprice both offer paintable cable raceways that blend with walls when painted to match. They’re not as clean as in-wall runs, but they preserve your home’s historic finishes while still delivering reliable wired connectivity.
Planning a wired network old house project requires patience and a willingness to work within the constraints of your home’s existing structure.
A well-executed wired network old house installation provides decades of reliable, high-speed connectivity that wireless simply can’t match in challenging construction.
Frequently Asked Questions
Can I run Ethernet cable alongside electrical wiring?
Technically yes, but maintain at least 12 inches of separation between Ethernet and electrical cables when running parallel. When Ethernet must cross electrical, do so at a 90-degree angle. This minimizes electromagnetic interference that can degrade your network signal.
Do I need to worry about asbestos in my old house walls?
If your house was built before 1980 and has insulation in the walls or attic, have it tested for asbestos before disturbing it. Drilling or cutting through asbestos-containing materials releases dangerous fibers. If asbestos is present, hire an abatement professional.
How much does it cost to wire an old house for Ethernet?
DIY with basic tools: $200-400 in materials (Cat6 cable, wall plates, connectors, tools) for a typical 6-8 drop setup. Hiring a professional: $150-250 per drop depending on difficulty and your location. Old houses with plaster walls and limited access command the high end of that range.
Is Cat6A too thick to fish through old walls?
It’s stiffer than Cat5E but manageable. Use the cable’s natural curve when pulling — don’t force sharp bends. The minimum bend radius for Cat6A is about 4x the cable diameter. If you’re struggling, try pulling from the destination end rather than pushing from the source end.
Can I use existing phone lines for Ethernet?
Only if the phone wiring is Cat3 or better (most post-1990s phone wiring is Cat3 at minimum). Cat3 supports 10Mbps Ethernet — barely usable. For anything faster, you need Cat5E or better cable in the walls. If your phone wiring is old station wire (4 individual wires, not twisted pairs), it’s useless for Ethernet.
How many cable runs should I plan per room?
Plan for at least two runs per room: one for a wired device connection and one spare. Spare runs cost almost nothing when you’re already pulling cable through walls, but adding them later requires opening walls again. Rooms with TVs or desks benefit from three runs — one for the TV or computer, one for a streaming device or VoIP phone, and a spare. Always terminate both ends of spare runs at your patch panel and wall plate — even if the wall plate end is capped, having the infrastructure in place saves significant effort later.
What’s the maximum cable length I can run?
The IEEE standard for Ethernet is 100 meters (328 feet) per cable run. This is the maximum from patch panel to wall plate including any patch cables at either end. In most homes, runs are well under this limit, but large houses or runs that route through attics and between floors can approach it. If you’re close to 100 meters, run Cat6A and consider a network switch at the midpoint to regenerate the signal.
If you’re into networking gear jokes and geeky merch, check out Witty Design Finds on Etsy — some fun stuff for the home lab crowd.