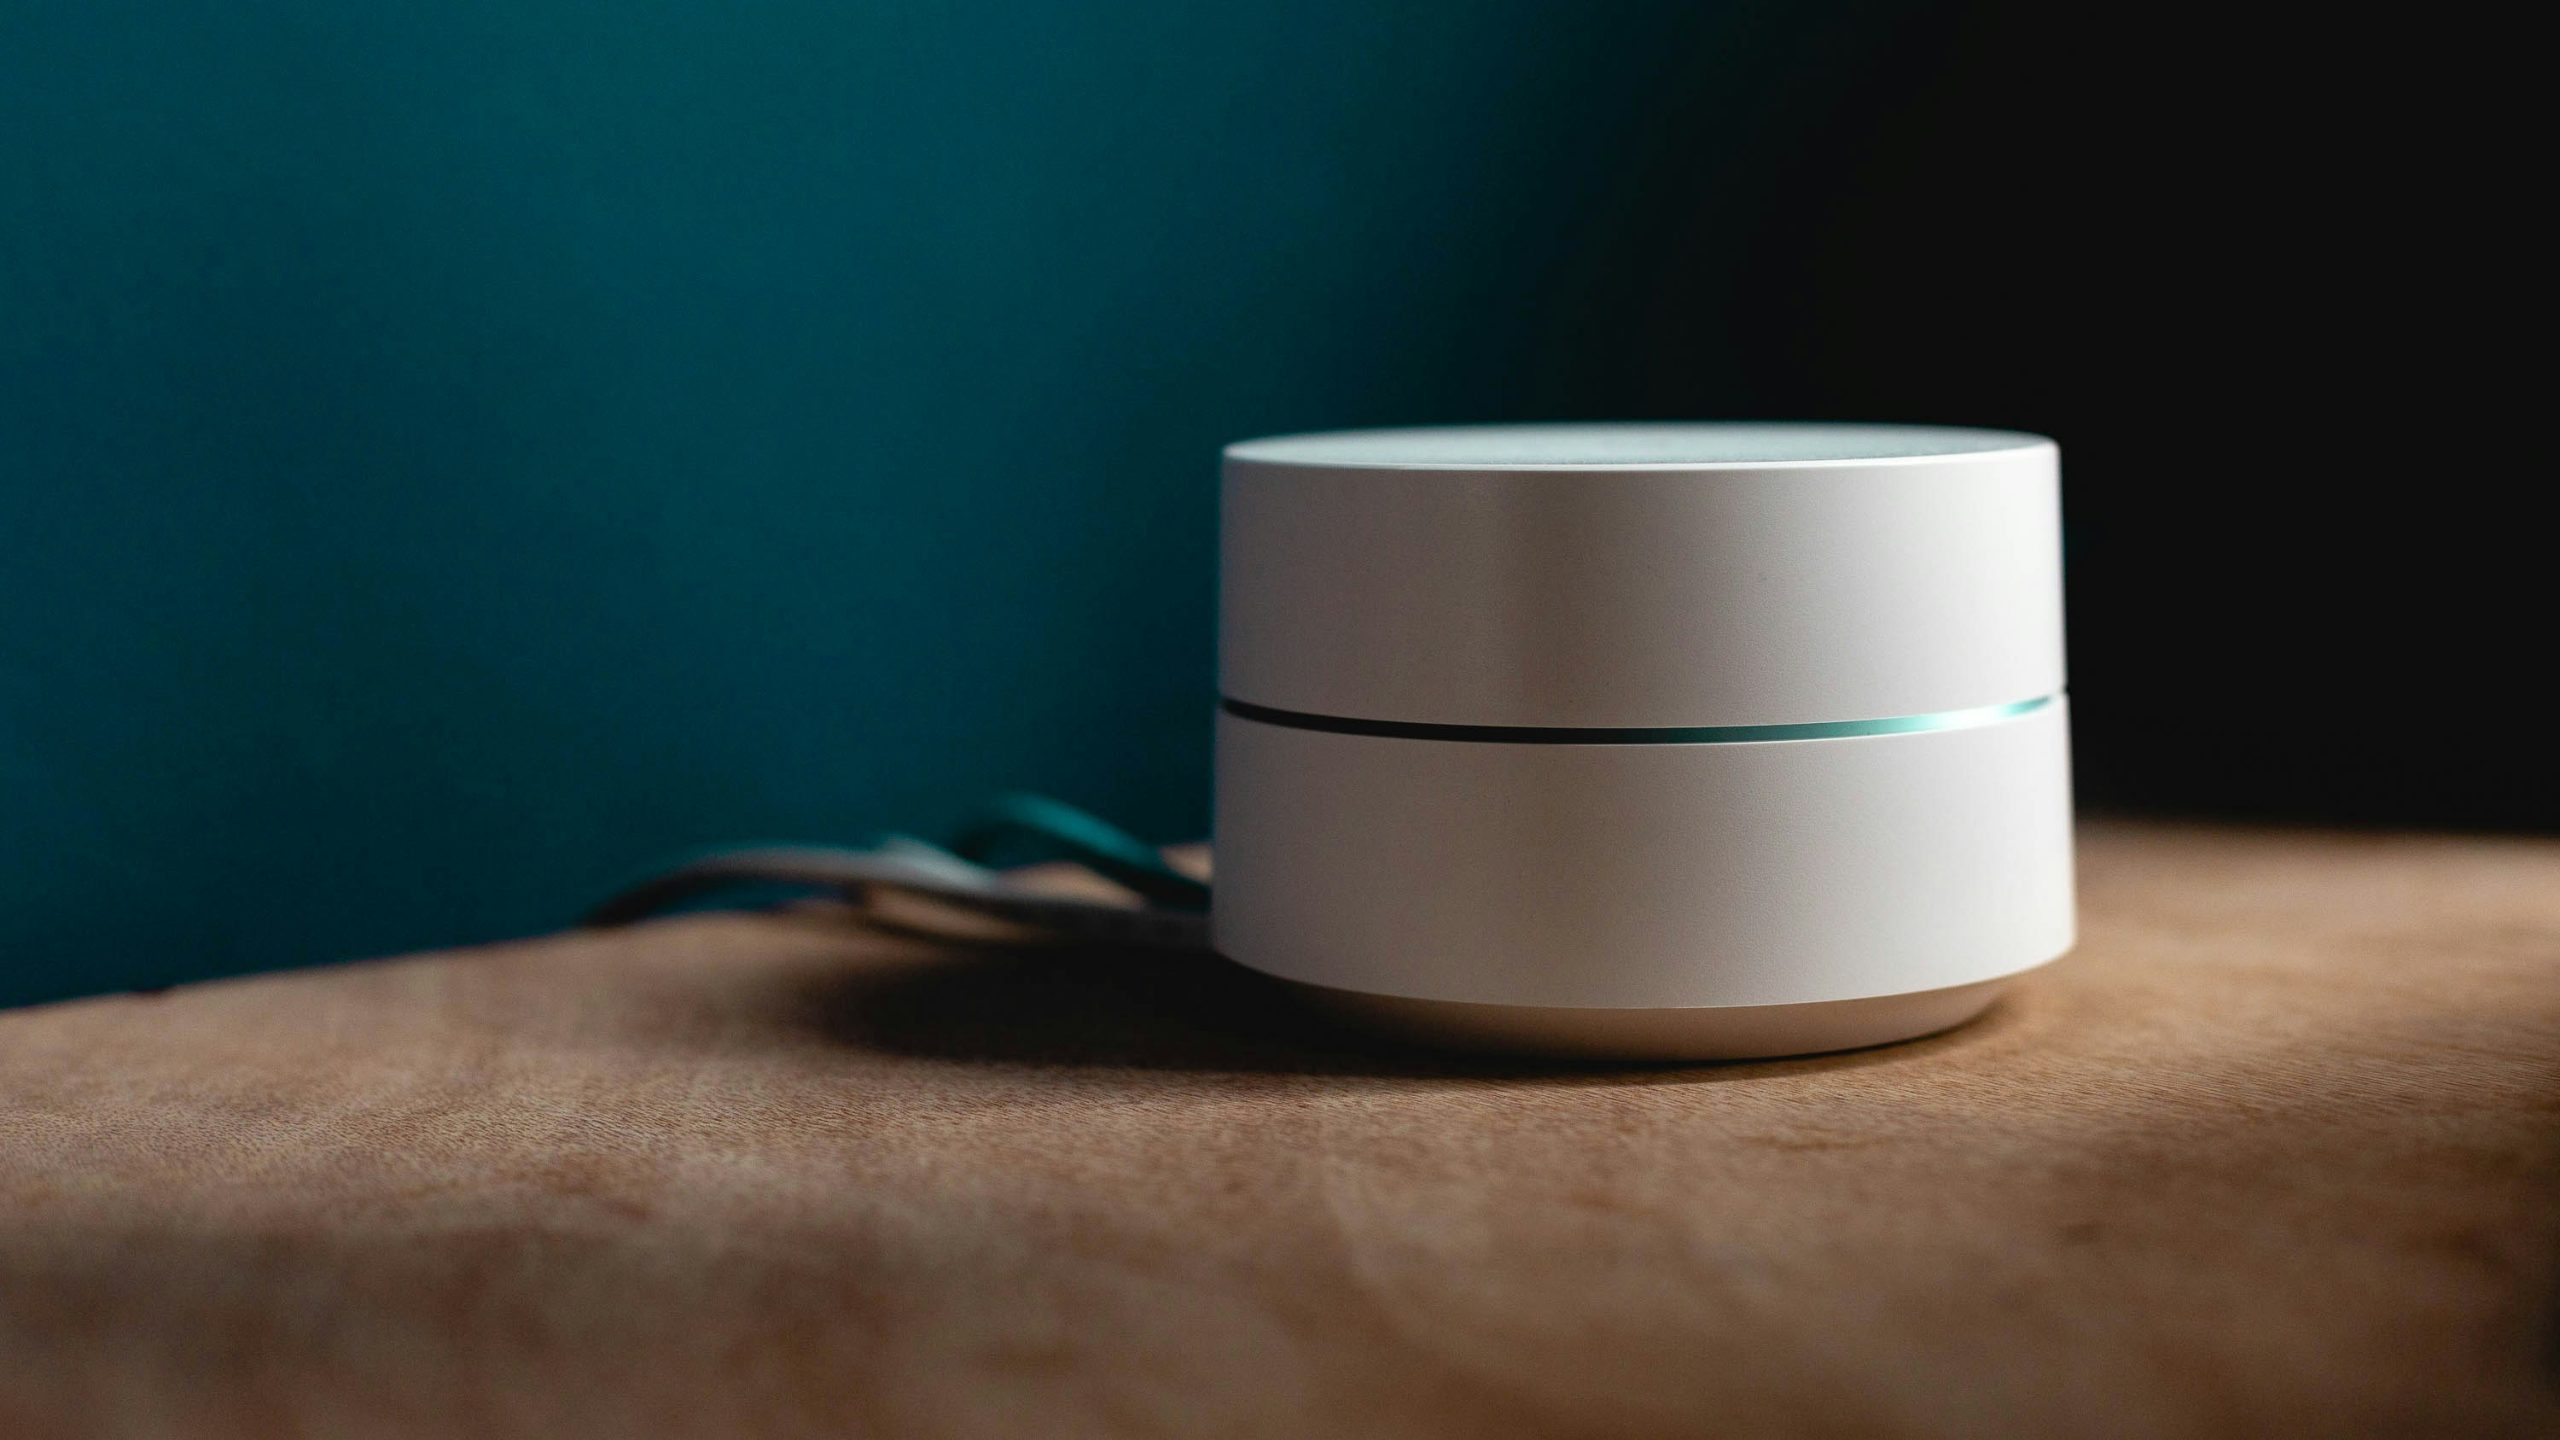
Best Z-Wave Devices for Home Assistant
Building a robust and reliable smart home requires choosing the right wireless protocol, and for millions of users, Z-Wave has become the gold standard for secure, low-latency device communication. Unlike WiFi-based devices that can congest your network or cloud-dependent platforms that fail during an internet outage, Z-Wave creates a dedicated mesh network that operates locally. When paired with the power of Home Assistant, you unlock a world of customization. To create a truly powerful smart home, you need the best Z-Wave devices that offer superior performance and compatibility.
Z-Wave technology, as detailed by the Z-Wave Alliance, operates on a low-frequency radio band (908.42 MHz in the US) that avoids the crowded 2.4GHz spectrum used by WiFi, Bluetooth, and Zigbee. This results in significantly less interference and greater signal penetration through common household materials like drywall and plaster. Furthermore, every mains-powered Z-Wave device acts as a mesh network repeater, strengthening the signal and expanding coverage with each new device you add. In this guide, we will explore the best Z-Wave devices available in 2026, focusing on sensors, switches, and locks that integrate seamlessly with Home Assistant for a truly automated and resilient home.
How to Choose the Best Z-Wave Devices for Home Assistant
When selecting the best Z-Wave devices, it’s crucial to look beyond basic functionality and consider the specific Z-Wave generation, security features, and Home Assistant compatibility. A thoughtful selection process ensures a stable and future-proof smart home.
-
Z-Wave Generation (700 vs. 800 Series):
- 700 Series (Z-Wave Plus V2): The current industry standard, offering a fantastic balance of range, S2 security, and SmartStart for easy device pairing. Devices using the 700 series chip provide up to a 10-year battery life for sensors and have a wireless range of up to 100 meters (328 feet) in open air.
- 800 Series: The latest generation, providing even longer range (up to 1.5 miles with Long Range mode), lower power consumption for battery-powered devices, and enhanced security features. While 800 Series devices are becoming more common, 700 Series devices still offer fantastic performance and are often more affordable. According to an analysis by Silicon Labs, the 800 series also focuses on energy efficiency, which is critical for battery-operated sensors.
-
Security (S2 Framework): Always choose devices that support the S2 security framework. This provides advanced, end-to-end encryption to prevent your devices from being snooped on or controlled by unauthorized users. Home Assistant fully supports S2, ensuring a secure connection between your controller and your devices. The S2 framework is a significant upgrade over the older S0 standard, which had known vulnerabilities.
-
Home Assistant Integration: While most Z-Wave devices are standardized, some may have unique features that require specific configuration in Home Assistant. Check the Home Assistant Z-Wave integration documentation and community forums for feedback on specific models to ensure a smooth setup process. The Z-Wave JS integration is now the default and provides the most feature-rich experience.
-
Device Type and Functionality:
- Sensors (Motion, Door/Window, Water): Look for devices with fast response times, long battery life, and tamper alerts. For motion sensors, configurable sensitivity is a major plus to avoid false alarms from pets.
- Switches and Dimmers: Consider models that offer scene control (multi-tap), power monitoring, and can function without a neutral wire if you live in an older home.
- Smart Locks: Prioritize locks with robust physical construction (ANSI/BHMA certification), multiple entry methods (keypad, key, app), and reliable wireless connectivity.
Controller Showdown: Z-Wave USB Stick vs. Hub
Your Z-Wave network is only as good as its controller. For Home Assistant, you have two primary choices: a dedicated USB stick or a multi-protocol hub.
- Z-Wave USB Sticks (e.g., Zooz ZST10 700, Aeotec Z-Stick 7): These devices plug directly into your Home Assistant server.
- Pros: Direct connection offers the lowest latency. They are typically less expensive than hubs. Firmware can often be updated manually for greater control.
- Cons: They are Z-Wave only. Placement is tied to your server’s location, which may not be optimal for radio performance (though a USB extension cable can solve this).
- Multi-Protocol Hubs (e.g., Aeotec Smart Home Hub, Hubitat Elevation): These are standalone network devices that communicate with Home Assistant over IP.
- Pros: Can be placed anywhere in your home for optimal radio coverage. Many include both Z-Wave and Zigbee radios, consolidating your setup.
- Cons: Communication happens over the network, which can introduce a tiny amount of latency. They are generally more expensive.
For most users starting today, a 700 or 800 series USB stick offers the best combination of performance and value, especially when paired with a short USB extension cable to move it away from the server chassis.
Top Z-Wave Devices for Home Assistant in 2026
We’ve tested a wide range of Z-Wave products to identify the best Z-Wave devices for reliability, performance, and seamless Home Assistant integration.
Aeotec Smart Home Hub
The Aeotec Smart Home Hub is a versatile Z-Wave and Zigbee controller that works flawlessly with Home Assistant.
💰 Buy on Amazon → Aeotec Smart Home Hub
While Home Assistant can work with various Z-Wave USB sticks, the Aeotec Smart Home Hub provides a robust, all-in-one solution. It functions as a Z-Wave 700 series controller and also includes a Zigbee radio, allowing you to manage both networks from a single device. When used with the Z-Wave JS integration in Home Assistant, it provides a stable and reliable foundation for your entire smart home network. Its external antenna and strong radio make it a great starting point for any new Z-Wave deployment.
Zooz Z-Wave Plus 700 Series 4-in-1 Sensor (ZSE40)
This compact sensor from Zooz packs motion, temperature, humidity, and light level detection into a single device.
💰 Buy on Amazon → Zooz 4-in-1 Sensor
For comprehensive room monitoring, the Zooz 4-in-1 is one of the best Z-Wave devices available. It’s small, easy to mount, and reports sensor data quickly, making it perfect for automation routines in Home Assistant. For example, you can use it to turn on lights when motion is detected but only if the room’s light level is below a certain threshold. The 700 series chip ensures long range and excellent battery life, often lasting over a year on a single coin battery.
Inovelli Blue Series 2-1 Smart Switch
Inovelli switches are famous for their feature-rich design, including multi-tap scene control and customizable LED notifications.
💰 Buy on Amazon → Inovelli 2-1 Smart Switch
The Inovelli Blue Series switches are a favorite among Home Assistant users. Beyond simple on/off control, you can configure multi-tap events to trigger different automations. For example, a double-tap could turn off all lights in a room, while a triple-tap could activate a “Movie Time” scene. The configurable RGB LED bar can also serve as a notification indicator, changing color to alert you to events like an open garage door or a water leak. These switches are incredibly versatile and are considered some of the best z-wave devices for advanced users.
Schlage BE469ZP Z-Wave Plus Smart Deadbolt
A rock-solid smart lock that combines a physical keypad with reliable Z-Wave connectivity.
💰 Buy on Amazon → Schlage BE469ZP Smart Deadbolt
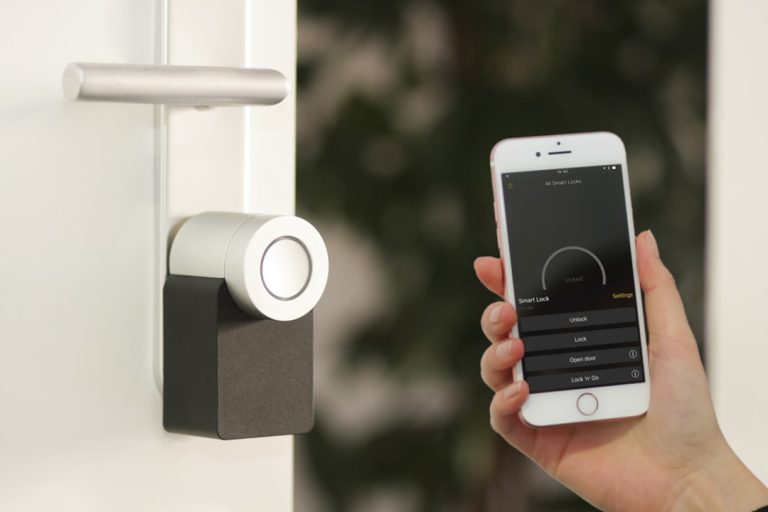
When it comes to home security, reliability is paramount. The Schlage BE469ZP is a durable, tamper-resistant smart lock that has been a top performer for years. Its Z-Wave Plus integration allows you to lock and unlock your door remotely, create unique access codes for guests, and trigger automations in Home Assistant when the lock state changes. For instance, you could have the house lights turn on and the thermostat adjust when you unlock the door after work.
Fibaro Flood Sensor
A compact and reliable water leak sensor that can save you from costly home damage.
💰 Buy on Amazon → Fibaro Flood Sensor
Water damage is one of the most common home insurance claims. Placing a Fibaro Flood Sensor in leak-prone areas like under sinks, behind toilets, or near a water heater can provide an early warning. It’s one of the best Z-Wave devices for home protection, sending an immediate alert to Home Assistant when water is detected, allowing you to trigger alarms or even shut off your main water valve automatically. Its built-in tilt sensor can also notify you if it’s been moved.
Building and Optimizing a Stable Z-Wave Network
Creating a reliable Z-Wave mesh is key to a frustration-free smart home. A well-planned network is a performant network.
- Start with a Good Controller: A quality Z-Wave controller, like a 700 or 800 series USB stick (such as the Zooz ZST10 700) or the Aeotec hub, is the foundation of your network. The controller’s firmware should be kept up to date for the latest features and security patches.
- Build Out from the Center: Start by pairing mains-powered devices closest to your Home Assistant server. These devices will act as repeaters and form the backbone of your mesh. Add devices one by one, working your way outwards to the edges of your home.
- Heal the Network Periodically: After adding several new devices, run a “Heal Network” command from the Z-Wave JS UI in Home Assistant. This process re-maps the communication routes, ensuring each device has the most efficient path back to the controller. This is especially important after moving devices around.
- Avoid Interference: While Z-Wave is resilient, placing your controller away from large metal objects (like a furnace or server rack) or other radio equipment can help improve signal strength. A short USB extension cable can often make a big difference.
- Check Your Topology: The Z-Wave JS UI includes a network graph visualization tool. This is an invaluable resource for identifying devices with weak signals or those that are not properly connected to the mesh. A healthy mesh should show multiple connections for each node, as explained in this excellent beginner’s guide.
The Future: Z-Wave Long Range (LR)
Z-Wave LR is an evolution of the protocol that co-exists with the traditional mesh topology. Instead of hopping from node to node, LR devices communicate directly with the controller in a star topology. This allows for a massive increase in range—up to several miles in open air. While still a newer technology, it’s perfect for reaching devices in detached garages, sheds, or large properties where the mesh may struggle to reach. A compatible 800-series controller is required to take full advantage of Z-Wave LR.
Troubleshooting Common Z-Wave Issues
Even with a well-planned network, you may occasionally run into issues. Here’s how to solve some of the most common Z-Wave problems.
-
Device Won’t Pair (Inclusion Fails): If a device refuses to join your network, the most common culprit is distance from the controller. Bring the device within a few feet of your Z-Wave controller for the initial pairing process. If that doesn’t work, perform a “factory reset” or “exclusion” on the device first. Devices often retain their old network information and must be excluded before they can join a new one.
-
Slow or Unresponsive Devices: This is almost always a sign of a weak mesh. A device that is far from the controller and has no mains-powered nodes nearby to act as repeaters will have a poor connection. The solution is to add more repeating devices (like smart plugs or switches) between the controller and the problematic device. Healing the network after adding new repeaters is also crucial.
-
“Ghost” Nodes or Dead Devices: Sometimes, a failed pairing or a device that lost power during a network heal can leave a “ghost” node in your Z-Wave controller’s database. These can cause significant network congestion. In the Z-Wave JS UI, you can attempt to remove the failed node. If that doesn’t work, you may need to use more advanced tools to manually remove the dead node from the controller’s NVM (Non-Volatile Memory).
-
Rapid Battery Drain in Sensors: If your battery-powered sensors are dying much faster than expected, it’s often because they have a poor connection to the mesh and are using extra power to constantly try and reach the controller. Check the network topology graph to ensure the sensor has a strong connection to a nearby repeating node. If not, adding a repeater can dramatically improve battery life. Another cause can be misconfigured reporting parameters, where the device is set to wake up and send updates too frequently.
Frequently Asked Questions
Can I use Z-Wave devices from different brands together?
Yes. Z-Wave is a standardized and certified protocol, meaning devices from different manufacturers are designed to be interoperable. You can mix and match sensors, switches, and locks from various brands within the same Home Assistant network without issue.
Do I need an internet connection for Z-Wave devices to work?
No. This is one of the biggest advantages of Z-Wave. The entire network, including all automations managed by Home Assistant, runs completely locally on your server. Your smart home will continue to function perfectly even if your internet connection goes down.
What is the difference between Z-Wave and Zigbee?
Both are low-power mesh networking protocols for smart home devices. The main difference is the radio frequency they use. Z-Wave operates in the sub-1GHz band (908.42 MHz in North America), which offers less interference and better range through obstacles like walls. Zigbee operates in the crowded 2.4GHz band, the same as WiFi, which can sometimes lead to signal conflicts in dense urban environments.
How many Z-Wave devices can I have on one network?
A single Z-Wave network can support up to 232 devices in a mesh configuration. With Z-Wave LR, a controller can support up to 4000 devices. This is more than enough for even the most ambitious smart home setups.
What is SmartStart?
SmartStart is a feature of the Z-Wave 700 series and newer that dramatically simplifies the device pairing process. With SmartStart, you can scan a QR code on the device’s packaging before it’s even powered on. Once the device is installed and powered up, it will automatically and securely join your Z-Wave network, eliminating the old “press the button and run back to the hub” routine. This feature makes scaling your network incredibly efficient.

4 Comments
Comments are closed.