How to Set Up a NAS for Time Machine Backups on Mac
Setting up a NAS for Time Machine backups on Mac gives you automatic, network-based backups that work across every Mac in your household. Instead of buying a separate external drive for each computer, a single NAS handles everything centrally with no cables to plug in. This guide covers the complete setup process for Synology DSM and QNAP QTS, plus troubleshooting steps for common issues.
Why Use a NAS for Time Machine Backups
Time Machine is macOS’s built-in backup solution, and it works natively with network volumes over SMB. The advantages of using a NAS for Time Machine over direct-attached drives are significant for any multi-Mac household. Apple’s official list of compatible backup disks confirms that Time Machine supports third-party NAS devices over SMB.
- Centralized backups — one device backs up every Mac on your network simultaneously
- Automatic scheduling — Time Machine runs hourly without any manual intervention
- Always available — no need to plug in a cable or remember to start a backup
- RAID protection — if your NAS uses RAID 1, your backups survive a drive failure
According to Apple’s support documentation, Time Machine over network requires an SMB shared folder. Both Synology and QNAP support this natively. If you are still choosing hardware, our best NAS for home use in 2026 guide covers the top options for Mac users.
Requirements for a NAS for Time Machine Setup
Before starting, confirm you have everything needed:
- A Synology or QNAP NAS with at least one drive installed and formatted
- macOS Monterey or later (older versions work but the System Settings UI differs)
- Both your Mac and NAS on the same local network
- Enough free storage — plan for 2–3 times your Mac’s total used storage per machine
Choosing the right platform is important. A 2-bay NAS with RAID 1 gives you drive redundancy for your backups. Check our Synology vs QNAP comparison if you are deciding between ecosystems.
Recommended NAS for Time Machine
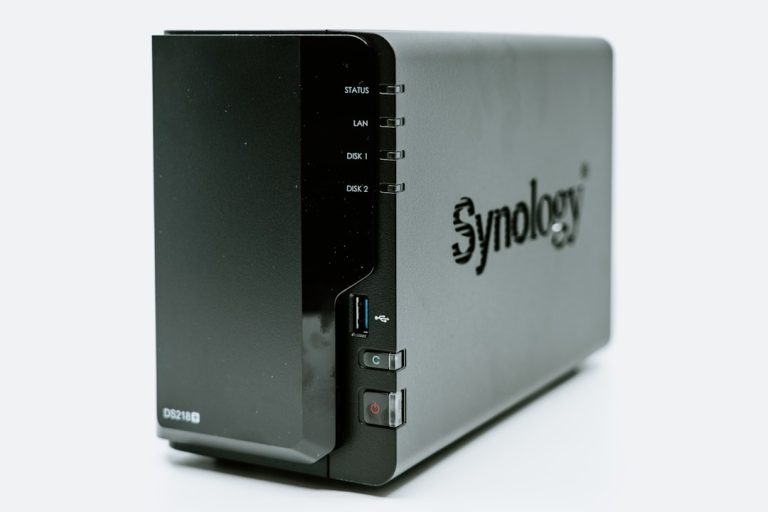
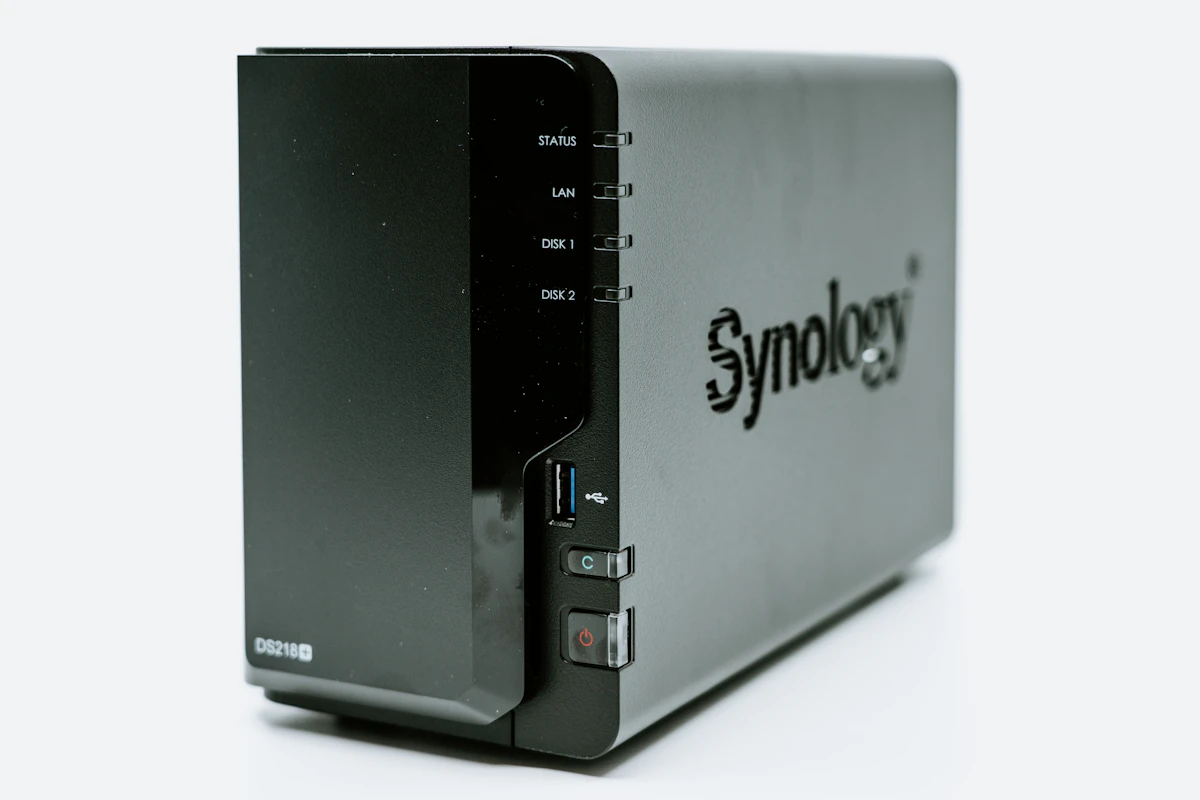
Synology DS223j — Best Budget Option
💰 Buy on Amazon → Synology DS223j
The Synology DS223j is the most budget-friendly 2-bay NAS that works perfectly with Time Machine. At around $170 bare, it offers the reliability of Synology’s DSM 7.2 with native Time Machine support over SMB. The ARM processor handles backup tasks efficiently while consuming minimal power.
QNAP TS-264 — Best Performance Option
💰 Buy on Amazon → QNAP TS-264
The QNAP TS-264 provides better performance with an Intel processor and supports more simultaneous backup tasks. At around $200–$220 bare, it’s ideal for households with multiple Macs doing large backups simultaneously. QNAP’s QTS offers robust Time Machine support with advanced features like per-user quotas.
Set Up a NAS for Time Machine on Synology DSM
Step 1: Create a Shared Folder
- Open DSM in your browser and log in with an administrator account
- Navigate to Control Panel > Shared Folder
- Click Create and name the folder (e.g., “TimeMachine”)
- Grant read/write permissions to your user account
- Note the folder path for later reference
Step 2: Enable Time Machine SMB Support
- Go to Control Panel > File Services > SMB > Advanced Settings
- Check Enable Bonjour Time Machine support
- Under the Time Machine section, select the shared folder you created
- Set a maximum backup size per user to prevent one Mac from consuming all storage
- Click Apply to save changes
This step is critical — without enabling Bonjour Time Machine support in SMB settings, your Mac will not discover the NAS. Synology’s knowledge base article provides additional details and troubleshooting steps for DSM configuration.
Step 3: Connect Your Mac
- Open System Settings > General > Time Machine on your Mac
- Click Add Backup Disk
- Your shared folder should appear automatically via Bonjour — select it
- Enter your NAS username and password when prompted
- Time Machine will begin its first backup — this takes hours depending on data volume
If the NAS does not appear automatically, click “Browse” and connect manually via SMB using the format smb://your-nas-local-ip/TimeMachine.
Set Up a NAS for Time Machine on QNAP QTS
Step 1: Create a Shared Folder
- Open QTS in your browser and log in as administrator
- Go to Control Panel > Privilege > Shared Folders
- Click Create, name it (e.g., “TimeMachine”), and assign read/write permissions
Step 2: Enable Time Machine Service
- Go to Control Panel > Network & File Services > Win/Mac/NFS
- Under the Mac tab, check Enable Time Machine support
- Select the shared folder you created as the backup destination
- Set the maximum backup size per Mac user to manage storage allocation
Step 3: Connect Your Mac
- Open System Settings > General > Time Machine
- Click Add Backup Disk
- Select the QNAP share from the list or browse to it manually
- Authenticate with your QNAP credentials
- Wait for the initial backup to complete
QNAP’s official tutorial provides screenshots for each step if you need visual guidance through the QTS interface.
Best Practices for NAS Time Machine Backups
Size Your Storage Appropriately
Time Machine stores multiple snapshots over time, consuming more space than your actual data. Allocate at least 2–3 times the total used storage of all Macs. Two Macs with 500 GB used each need at least 2–3 TB dedicated to backups. If you plan to use the NAS for Plex media streaming alongside backups, account for additional media storage space in your capacity planning.
Set Per-User Backup Quotas
Both Synology and QNAP let you set maximum backup sizes per user. This prevents one Mac with a large drive from consuming the entire share and blocking other machines. Set reasonable limits based on each Mac’s total storage capacity.
Use Wired Ethernet for the Initial Backup
The first backup transfers all your data at once — often hundreds of gigabytes. Over Wi-Fi, this can take 12–24 hours. Connect your Mac to Ethernet for the initial backup, then switch back to Wi-Fi for the smaller hourly incremental backups that follow. UGREEN’s NAS-Mac setup guide walks through connecting via SMB and optimizing transfer speeds.
Keep NAS Firmware Updated
Apple occasionally changes Time Machine’s SMB behavior in macOS updates. Keeping your NAS firmware current ensures ongoing compatibility. Both Synology and QNAP release DSM and QTS updates that address connectivity issues. Check for updates monthly.
Troubleshooting Common Issues
“The backup disk is not available”
This is the most common error when using a NAS for Time Machine backups. Typical causes and fixes:
- NAS drives went to sleep: Disable HDD hibernation in DSM (Control Panel > Hardware & Power) or QTS (Control Panel > System Settings > Hardware & Power)
- SMB connection dropped: Go to System Settings > General > Sharing and re-authenticate to the share manually
- NAS IP address changed: Set a static DHCP reservation for your NAS on your router to prevent IP conflicts after reboots
- Time Machine sparse bundle corrupted: Delete the sparse bundle file on the NAS and start a fresh backup
Slow Backup Speeds Over Network
If backup transfers crawl over your network:
- Verify SMB 3.0 or later is enabled in your NAS file service settings
- Check for network congestion from other devices downloading or streaming
- Ensure NAS drives are not in a degraded RAID state which slows reads and writes
- Consider a 2.5GbE NAS if you regularly transfer large volumes — see our NAS recommendations for 2.5GbE options
Backup Size Keeps Growing
Time Machine does not automatically delete old snapshots when backing up to network storage as aggressively as it does with direct-attached drives. Monitor your share size regularly and set per-user quotas to prevent runaway storage consumption from pushing your NAS to capacity.
Encrypting Your Backup Data
Both Synology DSM and QNAP QTS support encrypted shared folders. When you enable encryption on the Time Machine destination folder, your backups are encrypted both in transit and at rest on the NAS. To enable this on Synology, go to Control Panel > Shared Folder, select your Time Machine folder, click Edit, and enable encryption. You will set a password that must be entered to access the folder — store this encryption password in a secure password manager. On QNAP, enable folder encryption through the Shared Folder settings with a similar workflow. Encrypted backups protect your data even if someone physically accesses your NAS drives.
Verifying Backup Integrity
Time Machine periodically verifies backup integrity automatically, but you can trigger a manual check by holding the Option key and clicking the Time Machine menu bar icon, then selecting “Verify Backups.” This process compares your current files against the backup snapshots and flags any inconsistencies. Run a manual verification monthly — especially after macOS updates that may change how Time Machine handles sparse bundle files. If verification finds errors, the simplest fix is to delete the corrupted sparse bundle and start a fresh backup. You lose historical snapshots but the current data remains intact.
NAS for Time Machine: Alternative Backup Approaches
If you want something beyond Time Machine over the network, consider these alternatives. Synology Hyper Backup can back up your Mac data via Synology Drive Client with versioning, encryption, and cloud sync capabilities. QNAP Hybrid Backup Sync offers similar functionality with support for RTRR, Rsync, and cloud storage destinations. Lifewire’s NAS recommendations include options that excel at both Time Machine and alternative backup workflows. For users who prefer command-line tools, Rsync over SSH provides efficient incremental backups with full control over what gets transferred.
Frequently Asked Questions
How much storage do I need for a NAS for Time Machine?
Plan for 2–3 times the total used storage of all Macs you back up. A Mac with 500 GB used needs at least 1–1.5 TB allocated. With multiple Macs sharing a NAS, add their used storage and multiply by 2.5 as a starting baseline, then check actual usage over the first few months and adjust.
Can I use one NAS for multiple Macs at once?
Yes — and this is one of the best reasons to use a NAS for Time Machine. Create a separate SMB shared folder per Mac with its own quota, then point each Mac at its dedicated folder. Each Mac gets isolated backups without affecting the others.
Why does Time Machine fail to back up over the network?
The most common causes are SMB protocol mismatch, insufficient permissions on the share, quota exhaustion, or sleep settings on the Mac that disconnect the network share before the backup completes. Restart the NAS Time Machine service, verify SMB 3 is enabled, and confirm the share has Time Machine support enabled in its options.
Is Time Machine over WiFi reliable for daily backups?
It works but is slow. The first backup of a 500 GB Mac over Wi-Fi can take more than a day. After that, incremental backups are small enough to run reliably overnight. For initial backups and large restores, plug into Ethernet or use a Thunderbolt-to-Ethernet adapter for faster throughput.
What happens if my NAS for Time Machine dies?
Your most recent Mac data is still on the Mac itself. Time Machine backups are for recovering deleted files or rolling back, not for primary data storage. If the NAS fails, you replace it, set up a new Time Machine destination, and start a fresh backup chain — losing the historical snapshots but no live data.
If you’re into networking gear jokes and geeky merch, check out Witty Design Finds on Etsy — some fun stuff for the home lab crowd.