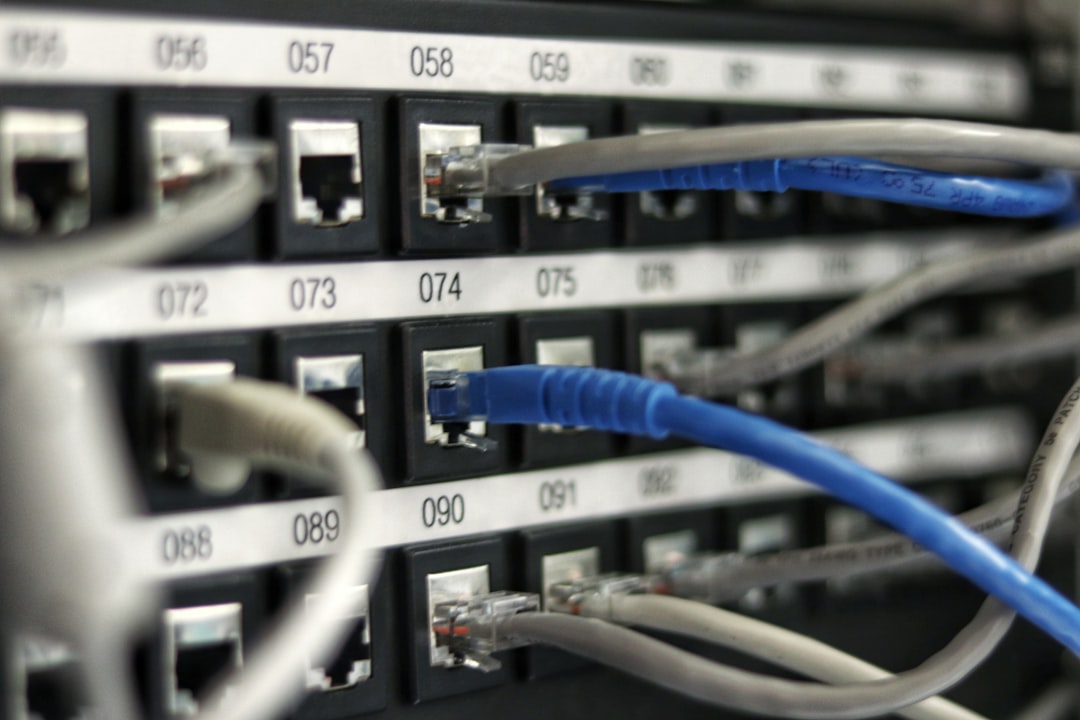
How to Punch Down and Wire a Network Patch Panel
Retrofitting your house with solid Cat6 or Cat6A ethernet cables is a major step toward creating a reliable, high-speed home network. Running lines through your walls and ceilings is only half the battle. Once you route your cables back to a central distribution closet, you need a robust, structured way to organize and connect them to your network switch. If you simply crimp RJ45 plugs onto the ends of these solid copper lines, you risk breaking the rigid conductors and creating intermittent connection issues. To avoid these problems and establish a professional setup, the next critical task is to wire a patch panel to organize your central network terminations.
A patch panel serves as a static consolidation point for all in-wall wiring. Unlike patch cables which are made of stranded wire designed for flexibility, in-wall cables use solid copper wires designed for permanent installation. Connecting these rigid solid lines directly to a patch panel ensures they remain completely undisturbed, reducing wear and tear on the cables. This comprehensive guide covers everything you need to know to wire a patch panel cleanly and accurately, ensuring maximum signal integrity and simple network maintenance for years to come.
Why a Patch Panel Is Essential for Structured Cabling
In professional enterprise environments and high-performance residential networks, structured cabling rules dictate that permanent links must terminate at fixed outlets on both ends. According to the Wikipedia patch panel guide, a panel contains multiple hardware ports to organize and connect incoming and outgoing local area network lines. By routing your bulk cables to a panel, you create a modular, easy-to-manage patch bay where you can swap connections around using short, flexible patch cables.
Terminating solid in-wall wiring into RJ45 male plugs is a common DIY mistake. Solid-core copper conductors are stiff and fragile; they are not designed to bend or move regularly. Constant movement when plugging and unplugging them from a network switch can easily fracture the internal copper strands, leading to packet loss or complete link failures. Using a patch panel keeps these permanent runs fixed in place behind a sturdy metal housing.
A patch panel also simplifies troubleshooting and future expansion. If a specific ethernet drop stops working, you can quickly test the corresponding port on the panel without pulling cables out of the walls. Upgrading your switches or changing your VLAN configurations becomes as easy as swapping a patch cord, preventing any physical strain on your expensive in-wall wiring.
Understanding the Difference Between T568A and T568B Standards
Before you wire a patch panel, you must understand the two standard wiring schemes used to organize individual copper strands: T568A and T568B. Both standards organize the four twisted pairs inside an ethernet cable into a specific sequence, but they swap the positions of the orange and green pairs. According to the Wikipedia TIA/EIA-568 standard, both configurations are electrically identical and deliver the same performance, but you must remain consistent throughout your entire network.
- T568B (The Residential Standard): This is the most common standard for residential network installations in North America. It places the orange pair on pins 1 and 2, and the green pair on pins 3 and 6. For almost all home networking projects, utilizing T568B is recommended to maintain consistency with pre-made patch cords and retail equipment.
- T568A (The Legacy / Government Standard): This standard is commonly found in older government facilities and legacy telephone installations. It places the green pair on pins 1 and 2, and the orange pair on pins 3 and 6.
The gold rule of network termination is to never mix T568A and T568B on the same physical cable run. Doing so will create a crossover cable, which can disrupt link negotiation on older equipment and confuse future troubleshooting efforts. Check the wiring standard on your remote wall plates first; if they are wired for T568B, you must wire a patch panel with the exact same T568B pattern.
Step-by-Step Instructions: How to Wire a Patch Panel
Terminating your network lines requires precision and the proper tools. By following these steps, you will ensure a robust and clean termination that passes high-speed certification tests.
-
Step 1: Prep and Organize Your Cable Bundle
Before attempting to wire a patch panel in your rack, label all your lines clearly. Pull your ethernet cable bundle into your server rack or wall mount enclosure. Group the cables neatly using hook-and-loop ties, ensuring there is plenty of slack. Leave a small service loop of extra cable behind the panel to accommodate future adjustments or re-terminations. -
Step 2: Strip the Outer Cable Jacket
Use a specialized cable stripping tool to remove approximately 1.5 to 2 inches of the outer PVC jacket from the first ethernet line. Take great care not to nick the insulation on the individual copper conductors. If you notice any cuts or copper exposure on the inner wires, cut the damaged section off and repeat the strip. Remove any internal spline (plastic cross-separator) or rip cord using flush cutters. -
Step 3: Route and Seat the Individual Pairs
Bring the cable to the back of the patch panel module. Most panels have color-coded guides on each port showing the pinouts for both T568A and T568B. Locate the T568B guide. Without untwisting the wires more than necessary, route the four colored pairs into their corresponding slots on the punch-down block. According to the Wikipedia punch-down tool guide, keeping the wire twists as tight as possible up to the point of termination is critical for minimizing crosstalk and signal degradation. -
Step 4: Punch Down and Cut the Conductors
Position your 110 impact punch-down tool over the first wire slot. Ensure the cutting blade of the tool is facing outward (away from the center of the jack). Press the tool firmly straight down onto the wire until the spring-loaded mechanism triggers with an audible click. This action forces the copper wire into the insulation-displacement contact (IDC) and cuts the excess wire flush with the edge. Repeat this process for all eight conductors. -
Step 5: Secure and Test Your Terminations
Once all ports are punched down, secure the incoming cables to the patch panel’s rear cable management bar using small cable ties. This step relieves strain on the IDC blocks when you plug and unplug patch cables. Finally, connect a network cable tester to each port on the patch panel and its corresponding wall outlet to verify perfect continuity, mapping, and speed capacity.
Recommended Tools and Hardware for Network Wiring
Using professional, high-quality termination tools and hardware is essential for ensuring your home network runs at full gigabit and multi-gigabit speeds.
Cable Matters Cat6 Keystone Jacks 10-Pack
To terminate cables with ultimate flexibility, using modular keystone jacks in your patch panel is highly recommended.
💰 Buy on Amazon → Cable Matters Cat6 Keystone Jacks 10-Pack
These RJ45 keystone jacks offer excellent performance and are fully compatible with both T568A and T568B standards. Their modular design allows you to snap them into blank patch panels easily. The impact-resistant plastic housings and gold-plated contacts ensure a secure and durable connection for your Cat6 and Cat5e cables.
Network Cable Tester RJ45
A reliable network continuity tester is indispensable for verifying that your punch-down terminations are flawless.
💰 Buy on Amazon → Network Cable Tester RJ45
This handy diagnostic tool allows you to verify pin-to-pin mapping, detect short circuits, and identify open pairs on your newly terminated lines. It features a main unit and a remote unit, allowing you to easily test long runs between your central patch panel and far-off wall outlets. It is a must-have for preventing troubleshooting headaches during network setup.
Cat6A Ethernet Cable
For feeding your patch panel with the highest possible bandwidth, utilize premium bulk solid copper Cat6A cable.
💰 Buy on Amazon → Cat6A Ethernet Cable
This high-quality solid bare copper cable is designed to support 10-Gigabit ethernet connections over long distances. It features excellent shielding to prevent external interference and is ideal for permanent in-wall runs. Terminating this bulk cable into a dedicated patch panel ensures your home networking infrastructure is ready for future multi-gigabit hardware upgrades.
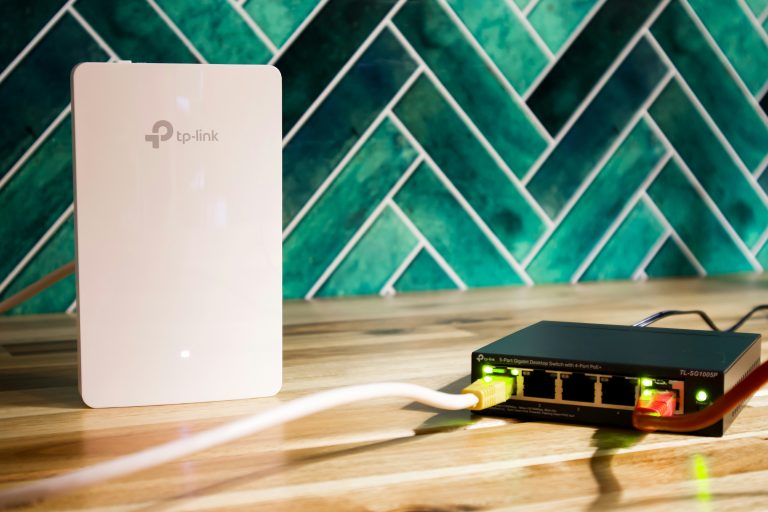
TP-Link TL-SG108E
The TP-Link TL-SG108E is an outstanding 8-port Gigabit Easy Smart switch to link your patch panel drops together.
💰 Buy on Amazon → TP-Link TL-SG108E
Once you wire a patch panel, you need a high-quality switch to distribute your network signals. This compact metal switch supports essential management features like VLANs, Link Aggregation, and IGMP Snooping. Its plug-and-play simplicity and reliable performance make it the perfect companion for a home structured cabling system.
Ubiquiti UniFi USW-Lite-8-PoE
The Ubiquiti UniFi USW-Lite-8-PoE is a managed PoE switch that integrates seamlessly with advanced smart home environments.
💰 Buy on Amazon → Ubiquiti UniFi USW-Lite-8-PoE
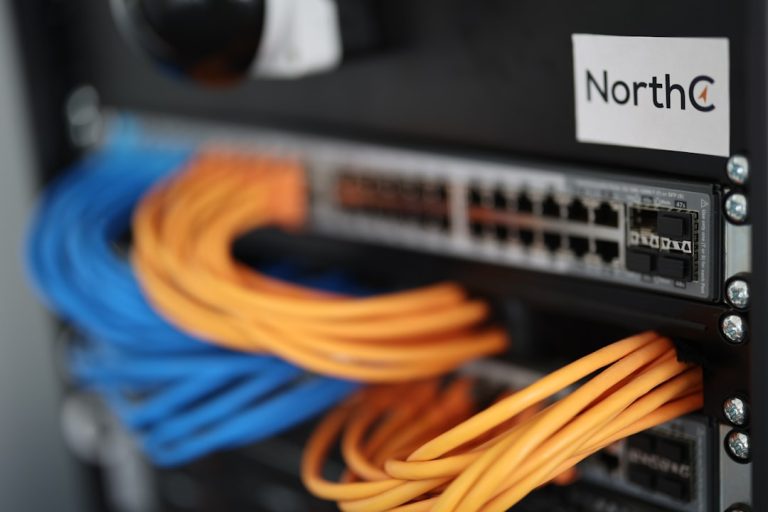
For power-over-ethernet devices like IP cameras and access points, this managed 8-port switch provides robust power delivery and advanced network configuration. It fits perfectly into structured cabling racks, allowing you to connect patch cables directly to your active network lines while managing your whole house network through the polished UniFi software dashboard.
Frequently Asked Questions about Patch Panels
To assist you with your home networking project, we have compiled answers to the most common questions regarding patch panel selection and wiring procedures.
What is the difference between a punched-down panel and a pass-through coupler panel?
A traditional punch-down patch panel requires you to strip each raw ethernet cable and punch the individual copper wires directly into 110 IDC blocks on the back of the panel. A pass-through coupler patch panel, on the other hand, features female RJ45 ports on both the front and back. This allows you to simply plug pre-terminated RJ45 connectors directly into the back of the panel. While pass-through panels are easier to install, traditional punch-down panels are cheaper, offer lower insertion loss, and provide a more secure connection for solid core cables.
Can I run Power over Ethernet (PoE) through a patch panel?
Yes, absolutely. High-quality patch panels are fully passive hardware components that simply continue the physical copper path. They do not alter the electrical signal in any way. As long as your network switch supports PoE and your cabling is rated correctly (such as Cat6 or Cat6A), you can safely pass power through the patch panel to devices like wireless access points, IP cameras, and smart home control panels.
Do I need to ground my patch panel?
If you are using standard unshielded twisted pair (UTP) ethernet cables, grounding the patch panel is not necessary. However, if you are using shielded twisted pair (STP) cables (such as shielded Cat6A) to prevent electromagnetic interference, you must use a shielded patch panel. Shielded panels feature a dedicated grounding wire or lug that must be connected to your server rack’s ground bus or a building ground to safely drain away any static electricity or interference.
What happens if I untwist the wires too much when terminating?
Ethernet cables rely on tight twists of the copper pairs to cancel out electromagnetic interference and crosstalk from adjacent wires. If you untwist the pairs too much when you wire a patch panel, you disrupt this shielding mechanism. This can cause significant signal degradation, CRC errors, packet loss, and lower connection speeds, particularly on longer cable runs or when running high-bandwidth applications. Keep your untwists to less than 0.5 inches from the IDC block.
Can I reuse a port on a patch panel after punching it down?
Yes, the 110 IDC blocks on a patch panel are designed to handle multiple insertions, typically between 100 to 200 punch-down cycles. If you make a mistake, change your wiring standard, or need to replace a damaged cable, you can carefully pull the old wires out of the slot and punch down a new set. Avoid using oversized tools or screwdriver tips to push wires in, as this can bend the metal contacts and ruin the port permanently.
How do I mount a patch panel without a full server rack?
If you do not have space or a budget for a full-sized 19-inch server cabinet, you can purchase compact wall-mount brackets. These vertical or horizontal wall brackets (often 1U or 2U in size) screw directly into wall studs, allowing you to hinge or mount the patch panel flush against the wall in a utility room, closet, or basement. This provides a clean, space-saving mounting solution for residential structured cabling systems.\n


2 Comments
Comments are closed.