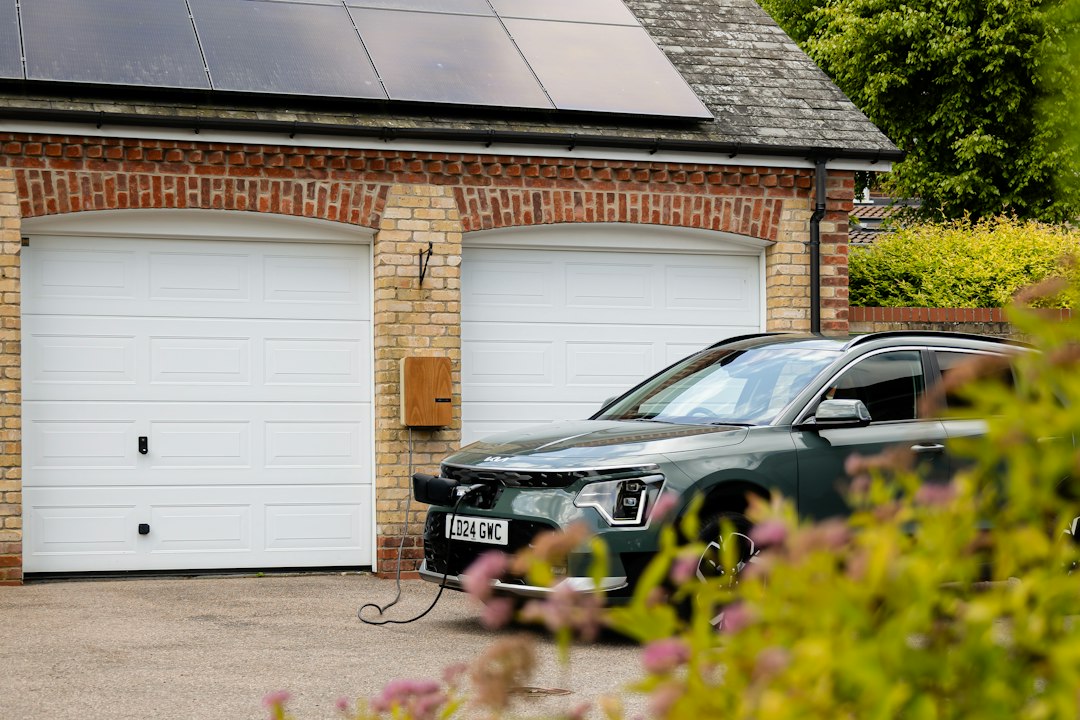
Best Smart Garage Door Openers for Home Assistant
The garage door is the largest moving object in most homes, and it’s also one of the most useful things to automate. It can close itself at night, warn you when it’s been left open, open as you pull into the driveway and report its state to every other device in the house. A good smart garage door opener makes all of that possible, but the market has a catch: many popular models depend on a vendor’s cloud service, and that cloud can change its rules without asking you.
This guide is for people running Home Assistant or planning to. It ranks the best ways to add smart control to a garage door, from plug-in controllers to open-source boards, with an emphasis on local control that keeps working when the internet doesn’t. You’ll also find the safety basics and wiring details that tend to get skipped in product listings.
How to Choose a Smart Garage Door Opener
Almost every smart garage door opener falls into one of two designs. Understanding the difference saves you from buying the wrong thing.
- Retrofit controllers connect to the wall-button terminals of your existing opener, usually with two thin wires, and add Wi-Fi control. They work with most openers made in the last few decades.
- Complete replacement openers are new motorized units with smart features built in. They cost more and usually require installation, but they can be the cleanest option if your current motor is failing.
For most homes, a retrofit controller is the right call. The motor you already own is fine, and a roughly fifty-dollar add-on gets you full smart control.
Local Control Beats Cloud Control
The question that matters most for Home Assistant users is where the commands go. A local device receives a command from Home Assistant over your own network and acts immediately. A cloud-dependent device sends the command to a server somewhere, which relays it back to the garage. The cloud version adds delay, stops working when your internet drops and can lose features if the company changes its policy.
Home Assistant’s cover integration is the entity type used for garage doors, blinds and similar devices, so any controller that exposes a cover entity will work with dashboards, automations and voice assistants. The best options below do that locally.
Check Your Opener’s Protocol
Most modern openers have a wall-button circuit that closes a contact to trigger the door. A simple relay can do that. Some newer openers, however, use a digital protocol over the same wires, and a basic relay may not work on those, or may work but lose features. Before you buy, look at the label on your opener’s motor head. The brand and model number tell you which controller is compatible. If you’re not sure, the controller’s manufacturer will usually have a compatibility list.
Don’t Forget a Real Door-Position Sensor
A relay that triggers the door can’t tell you whether it’s open or closed. Good controllers add a tilt sensor, a magnetic contact or a connection to the opener’s own state signals. Without that feedback, an automation that says “close the door” might open it instead. Always pick a setup that reports actual position.
Best Smart Garage Door Openers and Controllers
ratgdo: Best for Chamberlain and LiftMaster Openers
ratgdo is a small open-source board that connects to the wiring terminals of many Chamberlain, LiftMaster and Craftsman openers and speaks the opener’s own protocol rather than just clicking a relay. That matters because it can read the door state, the light state and even obstruction status directly from the motor. It runs ESPHome-based firmware that Home Assistant discovers automatically, and a variant of the firmware supports HomeKit directly.
It’s popular because it’s inexpensive, entirely local and does not rely on a manufacturer’s cloud. It’s sold directly by its maker rather than through large retailers, so supply can vary, and you’ll want to confirm that your opener’s protocol is supported. For anyone with a compatible opener who wants local control without the cloud, it’s hard to beat. The ESPHome project documentation explains the firmware platform behind it, and the ESPHome integration page in Home Assistant covers adoption.
- Pros: Local control, reads true door state, low cost, active community
- Cons: Not sold on Amazon, requires a compatible opener, wiring is a small DIY job
Konnected blaQ: Best Ready-Made Local Option
Konnected built its reputation on smart security wiring, and its garage door controller brings the same local-first approach to openers. It’s a finished product with a clean enclosure, designed to work with Home Assistant over the ESPHome integration and to continue operating with no cloud connection. If you like the idea of ratgdo but want something that arrives ready to mount, with a company behind support, the Konnected option is worth checking.
Compatibility again depends on your opener, so verify your brand and protocol on the maker’s page before ordering.
- Pros: Local control, polished hardware, good Home Assistant fit
- Cons: Costs more than a bare board, protocol support depends on the opener
Tailwind iQ3: Best for Multi-Door Garages
💰 Buy on Amazon → Tailwind iQ3 smart garage door controller
The Tailwind iQ3 connects to the wall-button wiring and adds Wi-Fi control, with a design aimed at households that have more than one door. It exposes a local interface, and Home Assistant has an official Tailwind integration that talks to it over your network, so day-to-day control doesn’t have to leave the house. It also works with several voice assistants and ecosystems.
It uses a contact closure rather than reading the opener’s digital protocol, so it works with a very wide range of openers, including older ones. Pair it with the supplied door sensors to get reliable open and closed reporting.
- Pros: Works with many opener brands, local control, handles multiple doors
- Cons: Less detailed feedback than protocol-level boards like ratgdo
Meross Smart Garage Door Opener: Best Budget Voice-Assistant Option
💰 Buy on Amazon → Meross smart garage door opener
Meross sells an inexpensive Wi-Fi garage door controller that works with Apple Home, Alexa and Google Assistant. It’s one of the cheapest ways to add voice control and phone control to a standard opener, and it includes a door sensor for position reporting.
The trade-off is that it leans on Meross’s own cloud for much of its functionality. It can be brought into Home Assistant through HomeKit or community-built integrations, but it isn’t the pick for a fully local setup. If your priorities are low price and compatibility with big voice platforms, it makes sense. If you want automations that survive an internet outage, choose one of the local options above.
- Pros: Low price, broad voice support, simple setup
- Cons: Cloud-reliant, Home Assistant support depends on a workaround
Shelly Plus 1 With a Door Sensor: Best DIY Build
💰 Buy on Amazon → Shelly Plus 1 Wi-Fi relay
If you’re comfortable with a little wiring, a Shelly Plus 1 relay and a magnetic contact sensor make a capable homemade controller. The relay’s dry contact connects to the wall-button terminals in place of a hand pressing the button, and the sensor mounts on the door track to report its position. Home Assistant has a native Shelly integration that detects the device on your network and keeps control local.
The strength of this approach is flexibility. You can add a second relay for another door, use the same hardware for gates or other contact-triggered devices, and you aren’t tied to a single vendor. The cost is a bit of setup time: you’ll configure the relay’s pulse behavior so it taps rather than latches, and you’ll create a cover entity in Home Assistant that combines the relay and the sensor.
- Pros: Local, cheap, endlessly adaptable
- Cons: Requires wiring and configuration, no polished app experience
What About myQ?
The myQ system built into many Chamberlain and LiftMaster openers is the most common smart garage platform in the country, but it’s cloud-based and the manufacturer has restricted third-party access over the years. That makes it an awkward fit for Home Assistant. If you already own a myQ-enabled opener, a local controller like ratgdo can replace the cloud dependence without replacing the motor. We recommend that route over relying on a workaround that may stop working.
Wiring and Installation Basics
Installing a retrofit controller is a beginner-friendly project, but a few details deserve attention.
- Unplug the opener or switch off its breaker before touching terminals. The low-voltage wall-button terminals are safe, but it’s good practice to start de-energized.
- Locate the terminals on the motor head. They’re usually labeled for the wall control or the push-button circuit.
- Connect the two wires from your controller to those terminals. Polarity rarely matters for a simple contact closure, but follow the product’s guidance.
- Mount the door sensor so the two halves align when the door is fully closed, using the manufacturer’s spacing guidance.
- Join the device to your network and add it in Home Assistant, then test the open, close and state reporting several times.
Use Your Existing Safety Features
Garage doors can injure people and pets, and modern openers include protections for a reason. Never bypass or disable the photo-eye sensors, and test the auto-reverse feature after any installation by placing an object in the door’s path. The garage door opener overview explains how entrapment protection works and why it became a standard requirement.
Think carefully about remote closing automations, too. Closing a door that you can’t see is riskier than opening one. Many people prefer a notification and a manual confirmation over a fully automatic close, or at least an automation that waits for the camera or presence data to show the area is clear.
Automations Worth Building
Once the hardware is in, the fun part is making the door part of your home’s logic.
- Left-open alert — send a notification if the door has been open longer than ten minutes, and again at bedtime.
- Arrival and departure — open the door when your phone approaches and the car is in the driveway, and turn on the garage and entryway lights. Use presence data from several sources to avoid false triggers.
- Night-time close — at a set hour, if the door is open and nobody is moving in the garage, send a prompt to confirm closing it. Our guide to smart lighting automation with presence sensors shows how to combine motion and occupancy data.
- Lock sync — pair the garage entry with a smart deadbolt so a single “good night” routine checks both. Our roundup of the best smart locks has options.
- Camera snapshot — capture a still image whenever the door opens and send it with the alert. A good video doorbell for Home Assistant or a garage camera pairs well here.
If you’re new to the platform, start with our Home Assistant getting started guide to get a stable base before adding hardware.
Keep the Garage Controller Secure
A device that can open a door to your house deserves more care than a smart bulb. A few precautions go a long way:
- Isolate it on a separate network segment from your computers and phones. Our walkthrough on isolating IoT devices on a VLAN explains how.
- Use strong, unique credentials for the device and for any remote access to Home Assistant, with two-factor authentication turned on.
- Avoid exposing the controller directly to the internet. Reach your home through a VPN or a secure tunnel instead.
- Set a reliable power source. If the opener loses power the door still has a manual release, but your controller won’t report state. A small battery backup for the router and hub keeps alerts working. See our guide to choosing a UPS for sizing advice.
Frequently Asked Questions
Will a smart garage door opener work with my existing opener?
Most retrofit controllers work with the majority of openers made in the last couple of decades because they connect to the standard wall-button terminals. A few newer models use a digital protocol that requires a compatible board, so check the brand and model on your motor head against the controller’s compatibility list.
Do I need Home Assistant to use these controllers?
No. Most of them also work with their own apps or with Apple Home, Alexa and Google Assistant. Home Assistant adds deeper automation, local control and a single dashboard for your entire home.
Is it safe to automate closing my garage door?
It can be, with sensible limits. Keep your opener’s photo-eye sensors and auto-reverse feature working, and consider requiring a confirmation or camera check before closing remotely. Closing a door you can’t see carries more risk than opening one.
What happens if my internet goes down?
A local controller keeps working with Home Assistant on your own network, so you can still control the door and trigger automations. Cloud-based controllers lose most of their remote features until the connection comes back, though the physical wall button and remote always continue to work.
Can I control more than one garage door?
Yes. Some controllers support multiple doors in one device, and with a relay-based setup you can simply add another relay and sensor for each door. Each door shows up as its own cover entity in Home Assistant.
Is ratgdo better than a relay-based controller?
For compatible Chamberlain and LiftMaster openers it offers more information, such as true door state and light status, because it reads the opener’s protocol directly. A relay-based controller works on a wider range of openers but gives less detail.
Do these controllers need a hub or bridge?
Generally not. Wi-Fi controllers connect straight to your router. Home Assistant simply needs to be on the same network, whether it runs on a mini PC, a dedicated box or a small server.
More from Wiredhaus
- Best Energy Monitoring Smart Plugs for Home Assistant
- How to Use AI for Smart Home Automations Without Writing Code
- Your Smart Home Muse: Why AI Makes Home Assistant Easier Than Ever
- How to Set Up a Home Assistant Backup (Automatic and Off-Site)
- Best Video Doorbells for Home Assistant: Local and Cloud Picks