Raspberry Pi Home Network Projects: 10 Ways to Level Up Your Setup
Raspberry Pi Home Network Projects 2026: 10 Ways to Level Up Your Setup
The Raspberry Pi isn’t just a hobbyist toy. In 2026, the Pi 5 is a legitimate network appliance platform — not just a hobbyist toy — and the Raspberry Pi home network projects 2026 space has never been more capable. It runs Pi-hole, WireGuard, Home Assistant, and a print server simultaneously on hardware that costs less than a dinner out. From DNS-level ad blocking to network-wide VPN gateways, these projects will improve your home network’s performance, privacy, and visibility — most of them for under $100.
This guide covers 10 real projects you can actually build, what hardware you need, and how they fit into a complete home network setup.
Why Raspberry Pi for Home Networking?
Before diving into specific Raspberry Pi home network projects 2026, it’s worth understanding why the Pi is so well-suited to this role:
Low power consumption — A Pi 5 idles at 3–5W and peaks under 10W. Running 24/7 for a year costs $3–8 in electricity. A dedicated NUC or mini PC doing the same job might cost 5–10x more to run.
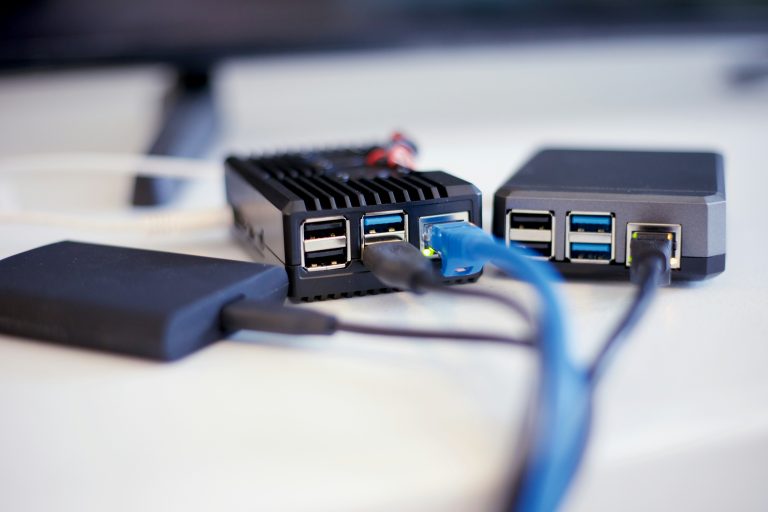
Small footprint — Pi boards fit in network closets, under desks, or mounted on the back of a patch panel. The official Pi 5 case with active cooler is barely larger than a deck of cards.
Active community — Almost every Pi network project has thousands of forum posts, Docker images, and YouTube tutorials. You are never the first person to have a problem.
Cheap enough to experiment — At $70 for a Pi 5 (4GB), you can run multiple projects on a single board or dedicate one Pi per service without breaking the bank.
The Hardware You Need
Most of these Raspberry Pi home network projects 2026 run on:
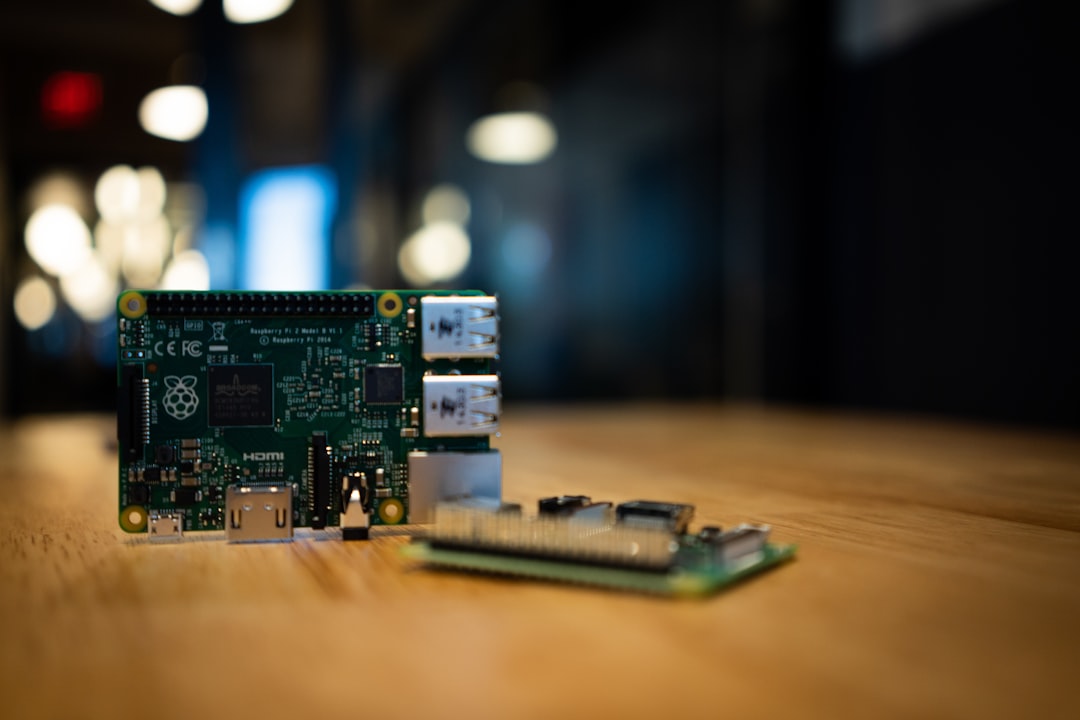
- Raspberry Pi 5 (4GB) — Recommended for most projects. Fast enough for multiple services simultaneously.
- Raspberry Pi 4 (4GB) — Still capable, lower cost on secondary market
- Official Raspberry Pi active cooler — Required for sustained load under the new Pi 5 thermal requirements
- High-quality microSD card or USB SSD — SD cards fail. A Samsung or SanDisk Endurance card, or a USB 3.0 SSD, is essential for network services that write logs constantly
- PoE HAT — Power the Pi from your network switch instead of a wall adapter; Pi 5 PoE HAT is available from the Raspberry Pi Foundation
- USB 3.0 Gigabit Ethernet adapter — Only if you need two NICs on one Pi for a router/firewall project
Project 1: Pi-hole — Network-Wide Ad Blocking
Difficulty: Easy
Time to set up: 30 minutes
Hardware required: Any Pi
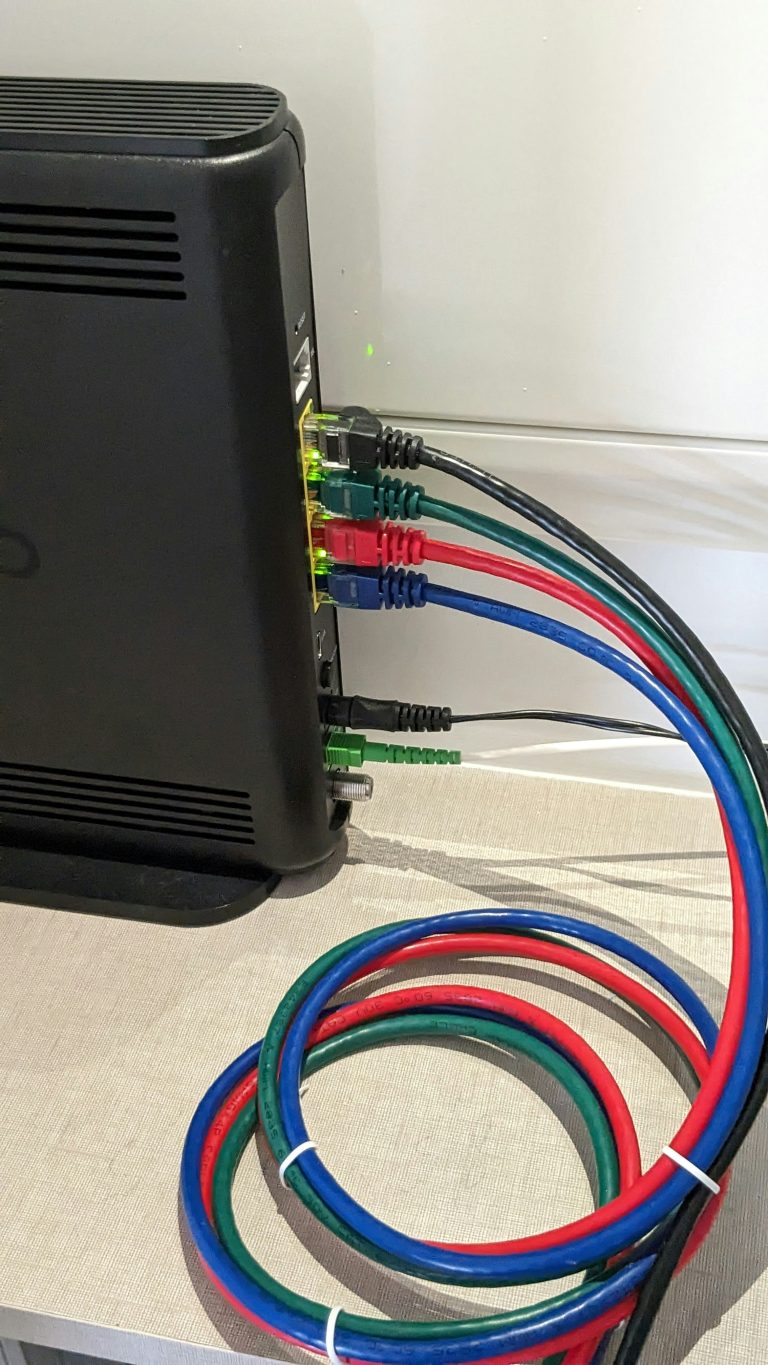
Pi-hole is a DNS sinkhole that blocks ads, trackers, and malicious domains for every device on your network — no app installation required on phones, tablets, or smart TVs. You configure your router to use the Pi as its DNS server, and all devices inherit the blocking automatically.
In 2026, Pi-hole v6 adds a new web interface, improved query logging, and better upstream DNS handling. Pair it with Unbound (recursive DNS resolver) to eliminate your dependency on Google or Cloudflare DNS entirely — your Pi queries root nameservers directly.
Performance impact is negligible — query resolution adds 1–2ms latency. Blocked domains return instantly (NXDOMAIN). Most users report 15–30% of DNS queries being blocked.
Why it matters for your network: Every smart TV, IoT device, and phone on your network is constantly phoning home to trackers and ad networks. Pi-hole stops it at the network layer.
Project 2: WireGuard VPN Server — Remote Access to Your Home Network
Difficulty: Medium
Time to set up: 2–3 hours
Hardware required: Pi 4 or Pi 5, public IP or DDNS
WireGuard on a Raspberry Pi turns your home into a VPN endpoint. When you’re away from home on public Wi-Fi, you tunnel back through your home network — all your traffic is encrypted and exits through your home IP.
More practically: VPN access lets you reach your home devices remotely as if you were on your local network. Access your NAS, Home Assistant, Synology, or cameras without exposing them to the public internet.
WireGuard is significantly faster than OpenVPN on Pi hardware because of its lightweight cryptography. A Pi 4 can saturate a 100 Mbps WAN connection with WireGuard with headroom to spare.
Setup tools: PiVPN is the easiest installer — it automates the WireGuard installation, key generation, and client config file creation. Or do it manually with the official WireGuard packages for full control.
If you’re also running pfSense or OPNsense as your main router, you can run WireGuard there instead and skip the Pi for this project — but a dedicated Pi VPN is useful if you don’t run a custom firewall.
Project 3: Home Assistant — Smart Home Automation Hub
Difficulty: Medium
Time to set up: 2–4 hours initially, then ongoing
Hardware required: Pi 4 or Pi 5, 4GB RAM minimum
Home Assistant running on a Pi 5 is a capable smart home hub for most homes. HA OS installs directly to a USB SSD for reliable storage, and a Pi 5 handles 50+ devices, complex automations, and the Lovelace dashboard without strain.
The full setup guide — including Zigbee and Z-Wave USB stick configuration, Matter support, and key integrations — is in our Home Assistant getting started guide. Running HA on a Pi is the most popular Raspberry Pi home network project in 2026 by a significant margin.
Note: If you want a purpose-built device with better long-term support and no SD card reliability concerns, the HA Green (covered in our smart home hubs guide) is a better long-term choice than a Pi for HA specifically.
Project 4: Netdata or Grafana Stack — Network Monitoring Dashboard
Difficulty: Medium
Time to set up: 3–5 hours
Hardware required: Pi 4 or Pi 5
A network monitoring stack — Prometheus + Grafana + SNMP exporters — turns your Pi into a real-time dashboard showing bandwidth utilization, CPU/memory on network devices, and historical traffic patterns.
The typical 2026 stack for Raspberry Pi home network projects:
- Prometheus — metrics collection and storage
- Grafana — visualization and dashboards
- SNMP Exporter — polls your router and switch via SNMP
- Telegraf — collects Pi system metrics and forwards to Prometheus
- Uptime Kuma — simple uptime monitoring for home services
All of these run comfortably on a Pi 5 via Docker Compose. The resulting dashboard is indistinguishable from what you’d see in a professional NOC.
Project 5: Unifi Controller — Run Your UniFi Network Without a Cloud Key
Difficulty: Easy
Time to set up: 1 hour
Hardware required: Pi 4 or Pi 5
If you run Ubiquiti UniFi access points or switches but don’t have a UniFi Dream Machine, you need somewhere to run the UniFi Network Application. A Raspberry Pi is a perfect host — run it in Docker, configure your APs to point to the Pi’s IP, and you have full UniFi management locally.
This avoids the $179 Cloud Key Gen 2+ and gives you full control over the UniFi application version and data storage. See our best WiFi access points guide for UniFi AP recommendations.
Project 6: Samba File Server / Local Cloud Storage
Difficulty: Easy
Time to set up: 1–2 hours
Hardware required: Pi 4 or Pi 5, USB SSD or HDD
A Pi with a USB drive running Samba is a low-cost network-attached storage device. It won’t replace a proper NAS for high-performance workloads (USB 3.0 and Pi network throughput are the bottlenecks), but for basic file sharing, media storage, or a Time Machine backup target, it works well.
For serious NAS work, a dedicated device with SATA drives is the better choice — see our Synology vs QNAP comparison for purpose-built NAS options.
Project 7: Nginx Reverse Proxy — Secure Access to Home Services
Difficulty: Medium-Hard
Time to set up: 3–5 hours
Hardware required: Pi 4 or Pi 5, domain name
Running Home Assistant, Grafana, Nextcloud, and other services on different ports is fine locally but clunky when accessing from outside. Nginx Proxy Manager (running in Docker on a Pi) gives each service a clean subdomain — ha.yourdomain.com, grafana.yourdomain.com — with automatic Let’s Encrypt SSL certificates.
Combined with Cloudflare for DNS, this setup gives you clean HTTPS access to all your home services without exposing individual ports to the internet.
Project 8: Frigate NVR — Local AI Security Camera Recording
Difficulty: Hard
Time to set up: 4–8 hours
Hardware required: Pi 5, USB SSD, optional Google Coral USB Accelerator
Frigate is an open-source NVR (network video recorder) that runs locally on your Pi and uses AI object detection to differentiate between humans, cars, animals, and other objects in your camera feeds. It integrates directly with Home Assistant for smart home automation triggers.
On a Pi 5, Frigate handles 2–4 camera streams at 1080p. Adding a Google Coral USB Accelerator ($65) dramatically improves inference speed for object detection and allows more simultaneous streams.
This replaces cloud-based camera subscriptions (Wyze, Eufy, Ring) entirely. Your footage stays local, AI detection works without internet, and Home Assistant automations can trigger on actual person detections rather than just motion. Our best home security cameras guide covers which cameras work best with Frigate.
Project 9: Tailscale Exit Node — Secure Remote Access Without Port Forwarding
Difficulty: Easy
Time to set up: 30 minutes
Hardware required: Any Pi
Tailscale creates an encrypted mesh VPN between your devices without requiring port forwarding or a static IP. Install Tailscale on your Pi, configure it as an exit node, and all your remote devices can route through your home IP.
Unlike a self-hosted WireGuard server, Tailscale handles NAT traversal automatically — it works even behind CGNAT (carrier-grade NAT) which blocks traditional VPN hosting.
The free Tailscale plan supports up to 3 users and 100 devices — more than sufficient for most households running Raspberry Pi home network projects 2026.
Project 10: MQTT Broker (Mosquitto) — Smart Home Backbone
Difficulty: Easy
Time to set up: 1 hour
Hardware required: Any Pi
MQTT (Message Queuing Telemetry Transport) is the messaging backbone for local smart home communication. Home Assistant uses MQTT to talk to Zigbee2MQTT, ESPHome devices, Tasmota firmware devices, and many other integrations.
Running Mosquitto MQTT broker on a Pi (or on the same Pi as HA) gives you a reliable local message bus that keeps smart home traffic entirely within your network. No cloud dependency, sub-10ms message delivery, and full visibility into all device communication.
Building Your Pi Stack
These projects don’t have to run on separate Pis. A single Pi 5 (8GB) running Docker Compose can handle:
– Pi-hole + Unbound
– Mosquitto MQTT
– Nginx Proxy Manager
– Netdata monitoring
– Tailscale
…simultaneously, with CPU rarely exceeding 30% under normal load.
For services that need more reliability (Home Assistant, Frigate), a dedicated Pi or a purpose-built appliance is worth the extra hardware cost.
Whatever combination you choose, the Raspberry Pi home network projects 2026 space makes it possible to build a genuinely professional home network infrastructure for a few hundred dollars in hardware and a weekend of setup.
External references: Raspberry Pi Official Documentation | Pi-hole Official Documentation