How to Set Up a Guest WiFi Network at Home (Step by Step)
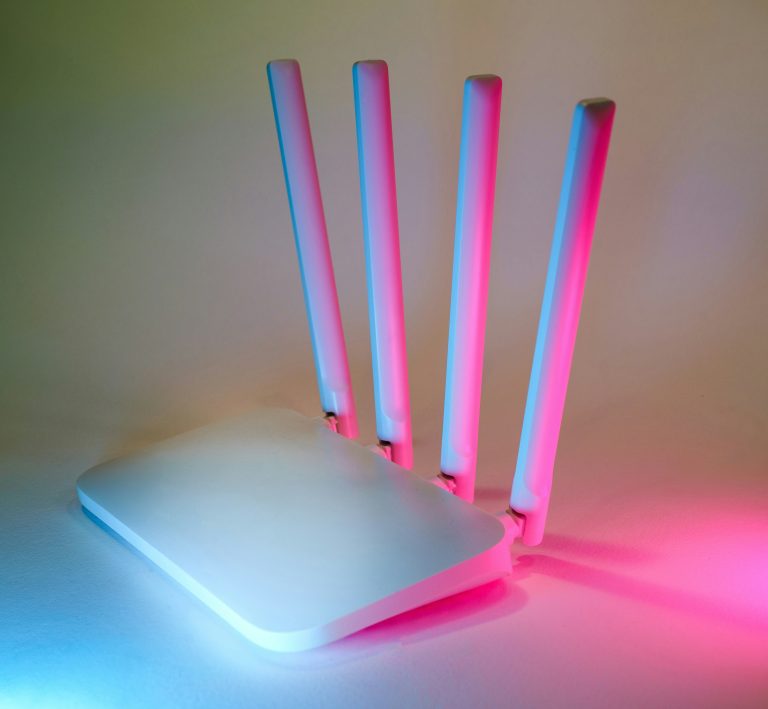
Setting up a guest WiFi network is one of the smartest things you can do for your home network security — and it takes less than 10 minutes on most modern routers. The idea is simple: instead of giving visitors your main WiFi password and access to your home devices, you create a separate network that’s isolated from everything else. They get internet access; your computers, NAS, and smart home gear stay off-limits.
This guide walks through exactly how to set up a guest WiFi network on the most common router platforms, what settings actually matter, and what to avoid.
Why a Guest WiFi Network Matters
Your main WiFi network is where everything lives — your laptop, your phone, your NAS, your smart home hub, your security cameras. When a visitor connects to that network, they’re on the same local subnet as all of those devices. Even without malicious intent, a compromised device on the main network (a friend’s phone with malware, for example) can scan and probe everything else on it.
A properly configured guest WiFi network prevents this with network isolation. Clients on the guest network can reach the internet but can’t see or communicate with devices on your main network. It’s the same principle used in hotels, coffee shops, and corporate guest portals.
Beyond security, there’s a practical benefit: you never have to change your main WiFi password. If a contractor visits, connects to your guest network, and you change the password afterwards, your main network devices aren’t affected at all.
For a broader look at network security at home, see Cybersecurity Best Practices for Your Home Network and How to Protect Your Kids on WiFi.
What You Need Before You Start
Most modern routers support guest WiFi natively. Before you start:
- A router that supports guest networks: Almost every dual-band or tri-band router sold in the last 5 years has this. If yours doesn’t, it’s time for an upgrade.
- Admin access to your router: You’ll need the admin username and password (not the WiFi password). This is usually on a label on the router. If you changed it and forgot, a factory reset is the recovery option.
- A few minutes: The process genuinely takes 5–15 minutes depending on your router’s interface.
Routers known to have excellent guest network support include the NETGEAR Orbi WiFi 6 Mesh, Amazon eero Pro, and TP-Link Deco XE75 mesh systems. All support multiple SSIDs with proper isolation.
How to Set Up a Guest WiFi Network: Step by Step
Step 1: Log in to Your Router’s Admin Interface
Open a browser on a device connected to your main network. Type your router’s admin IP address into the address bar. Common defaults:
– Most routers: 192.168.1.1 or 192.168.0.1
– NETGEAR: 192.168.1.1 or routerlogin.net
– TP-Link: 192.168.0.1 or tplinkwifi.net
– Eero: Use the eero app (no web interface)
– Google/Nest WiFi: Use the Google Home app
Enter your admin username and password. If you’ve never changed these, check the router label.
Step 2: Find the Guest Network Setting
Look for “Guest Network,” “Guest WiFi,” or “Guest Zone” in the router’s menu. It’s usually under Wireless settings, Advanced settings, or has its own menu item. On mesh systems, it’s often in the dedicated app under “Network” or “Settings.”
If you can’t find it, search “[your router model] guest network setup” — manufacturer support pages have step-by-step guides for every model. NETGEAR’s guest network support page walks through the process for their router lineup. TP-Link’s guest network guide covers Archer and Deco setups. For eero, Amazon’s eero help center has dedicated articles on guest network configuration.
Step 3: Enable the Guest Network
Toggle the guest network on. You’ll see options to set:
– SSID (network name): Pick something descriptive but not personally identifiable. “Guests” or “[YourName] Guest” works fine.
– Password: Set a strong password. You can change this anytime without affecting your main network.
– Security type: Use WPA2 or WPA3. Never use WEP or open (no password).
Step 4: Enable Network Isolation
This is the critical setting that most people miss. Look for “Client Isolation,” “AP Isolation,” “Guest Network Isolation,” or “Access to Intranet: Disabled.” The exact label varies by manufacturer, but every quality router has it.
Enable isolation. This prevents devices on the guest network from communicating with each other or with devices on your main network. Without this setting enabled, your guest network is basically just a second password for the same network — it doesn’t actually protect anything.
Step 5: Set Bandwidth Limits (Optional but Useful)
Many routers let you set a maximum bandwidth for the guest network. This prevents guests from saturating your connection while you’re on a video call. A limit of 20–50 Mbps is reasonable for most guest use cases — plenty for streaming and browsing, not enough to max out a fiber connection.
Look for “Bandwidth Control,” “Speed Limit,” or “QoS” settings within the guest network options.
Step 6: Test the Setup
Connect a phone or laptop to the new guest network. Verify:
1. You can reach the internet (load a website)
2. You cannot reach devices on your main network (try pinging your router’s LAN IP or browsing to a NAS web interface — it should time out or be unreachable)
3. You can’t see other guest devices on the network (this tests client isolation)
If the network isolation test fails, double-check that the isolation/AP isolation setting is enabled and save/apply it again.
Guest Network Settings That Actually Matter
Beyond the basics, here’s what’s worth configuring:
Separate SSID for 2.4GHz and 5GHz: Some routers let you create band-specific guest SSIDs. If you’re hosting smart home devices on the guest network (IoT isolation is a common use case), 2.4GHz-only may be useful since many IoT devices don’t support 5GHz. For general guest access, a single band-steered SSID is simpler.
WPA3 if available: Newer routers support WPA3 which offers better protection against password guessing. Enable WPA3/WPA2 mixed mode for compatibility with older devices.
Guest network SSID visibility: Keep it broadcast (visible) unless you have a specific reason to hide it. Hidden SSIDs are a minor annoyance for legitimate users and provide essentially no security benefit.
DHCP range: Some routers let you configure a separate IP range for the guest network (e.g., 192.168.100.x instead of 192.168.1.x). This is automatically handled on most routers — you usually don’t need to configure this manually.
Using Guest WiFi for IoT Isolation
One of the best uses for a guest WiFi network beyond actual guests is IoT device isolation. Smart bulbs, plugs, cameras, thermostats, and similar devices often have weaker security than your computer. Putting them on a separate network with isolation means a compromised smart bulb can’t reach your NAS or laptop.
The setup is the same as a regular guest network — just connect your IoT devices to the guest SSID instead of your main network. Most smart home devices like the ecobee Premium Smart Thermostat and smart plugs work fine on an isolated guest network. The only devices that need main network access are ones that directly integrate with your computers — like a network printer or a NAS you access from your laptop.
For a deeper look at smart home network architecture, see Building a Smart Home From Scratch in 2026.
Common Guest Network Mistakes
Not enabling isolation. The single most common mistake. Without it, you have two SSIDs on the same network, not an isolated guest network.
Using the same password as your main network. Defeats the purpose — if someone knows the password, just use your main network SSID. Keep them different.
Not setting any password. An open guest network is a risk. Anyone in range can connect, use your bandwidth, and potentially use your IP address for activities you don’t want associated with you.
Sharing the guest password permanently without rotating it. The guest network password should be changed periodically — especially if you had contractors or visitors you no longer want to have access. Your main network isn’t affected when you change it.
Trusting client isolation too much. Network isolation stops lateral movement, but it doesn’t prevent a guest from accessing the internet and any services exposed through it. If you run a home server with public-facing ports, guest network isolation doesn’t protect those.
Frequently Asked Questions
Does a guest WiFi network slow down my main network?
Not significantly, as long as you don’t have an enormous number of devices competing for the same radio. A guest network is another SSID on the same radio, so heavy guest usage can affect overall performance. Setting a bandwidth limit on the guest network prevents guests from impacting your main network experience.
Can guest network devices see each other?
By default on most routers, yes — unless you enable “client isolation” or “AP isolation.” With client isolation enabled, devices on the guest network can’t communicate with each other or with your main network. Each device only sees the router and the internet.
How do I share the guest WiFi password easily?
Most routers let you generate a QR code for the guest network. Scan it with a phone camera and it connects automatically — no typing required. The Google Home app (for Nest WiFi) and NETGEAR Orbi app both generate shareable QR codes directly.
Is a guest WiFi network the same as a VLAN?
They achieve similar isolation goals but work differently. A guest network is a separate SSID with isolation enabled at the radio level. A VLAN is a network-layer separation that requires a managed switch and router with VLAN support. Guest networks are simpler and built into consumer routers. VLANs offer more granular control and work with wired connections too.
Can I connect a smart TV or streaming device to the guest network?
Yes. Streaming devices only need internet access, not access to your main network. Connecting them to the guest WiFi network keeps them isolated while they stream normally. The only exception is if you use local DLNA/Plex streaming from a home server — that requires the device to be on the same network as the server.
What happens to guest network devices when I restart the router?
They reconnect automatically when the router comes back online, assuming they’re configured to auto-connect. The guest network comes back up along with the main network during the router boot process.
Do mesh systems support guest networks?
Yes. All major mesh systems (eero, NETGEAR Orbi, TP-Link Deco, Google Nest) support guest networks with isolation. The configuration is done through the app rather than a web interface. See How Many Devices Is Too Many for WiFi for advice on managing multiple network segments across a mesh system.