How to Wire Your Home Network: The Complete Guide
How to Wire Your Home Network: The Complete Guide 2026
A properly wired home network is the foundation everything else runs on. WiFi is convenient — ethernet is reliable. Here’s everything from planning your cable runs to terminating jacks and setting up a network closet.
Why Wired Still Wins in 2026
WiFi 7 is fast. Ethernet is faster, more reliable, lower latency, and immune to RF interference. A device connected via Cat6A gets consistent 1-10Gbps. The same device on WiFi gets variable speeds that fluctuate with distance, walls, neighboring networks, and how many other devices are competing for airtime.
For devices that matter — NAS, desktop PC, smart TV, gaming console, access points — wired ethernet is always the right choice. WiFi fills the gaps for devices that move or can’t be wired.
Planning Your Network
Step 1 — Identify Locations
Walk every room and mark where you want ethernet ports. Standard recommendations:
- Living room: 2-4 ports (TV, game console, streaming device, spare)
- Home office: 2-4 ports (PC, printer, spare, IP phone)
- Bedrooms: 1-2 ports each
- Access point locations: 1 port each (ceiling-mounted is ideal)
- Network closet/panel location: Central point for all runs
Step 2 — Choose Your Cable
Cat5e: Supports 1Gbps up to 100m. Fine for most homes but being phased out for new installs.
Cat6: Supports 1Gbps easily, 10Gbps up to 55m. The minimum recommended for new home wiring in 2026.
Cat6A: Supports 10Gbps up to 100m. Recommended for runs that will terminate at a 10GbE switch or NAS. Thicker and stiffer than Cat6 — harder to pull through walls.
For most homes: Cat6 is the practical choice. If you’re running to a home office with a 10GbE NAS, use Cat6A for that run specifically.
Step 3 — Plan Your Routes
Cable routes through walls, ceilings, and floors. Key principles:
- Avoid parallel runs with electrical wiring — electromagnetic interference. Cross at 90° angles when necessary.
- Minimum bend radius: Cat6 should never bend tighter than a 1-inch radius.
- Label every run before you terminate it — unlabeled cables become a permanent mystery.
Tools You’ll Need
- Cable tester — verifies continuity and correct pinout after termination
- Punch-down tool — seats wires in keystone jacks
- RJ45 crimping tool — if terminating patch cables (keystone jacks are easier)
- Fish tape or fish sticks — pulls cable through walls
- Drill with long bit — for running cables through framing
- Voltage detector — find existing wiring before drilling
Termination: Keystone Jacks vs RJ45
Keystone jacks (the square inserts in wall plates) are the professional approach. Cable runs from the panel to a keystone jack in the wall, then a short patch cable connects the jack to the device. Clean, replaceable, and the right way to do it for permanent installs.
RJ45 crimped directly — some installers run cable directly to an RJ45 plug at the wall end. Faster but less clean, harder to replace if damaged.
Recommendation: Keystone jacks at wall locations, patch panel at the network closet. This is the standard for good reason.
Wiring Standard: T568B
Always use T568B for new installs (the most common North American standard). Both ends of every cable must use the same standard.
T568B pinout:
1. White/Orange
2. Orange
3. White/Green
4. Blue
5. White/Blue
6. Green
7. White/Brown
8. Brown
The Network Closet / Patch Panel
All cable runs should terminate at a central location — a network closet, utility room, or structured media center. Here you install:
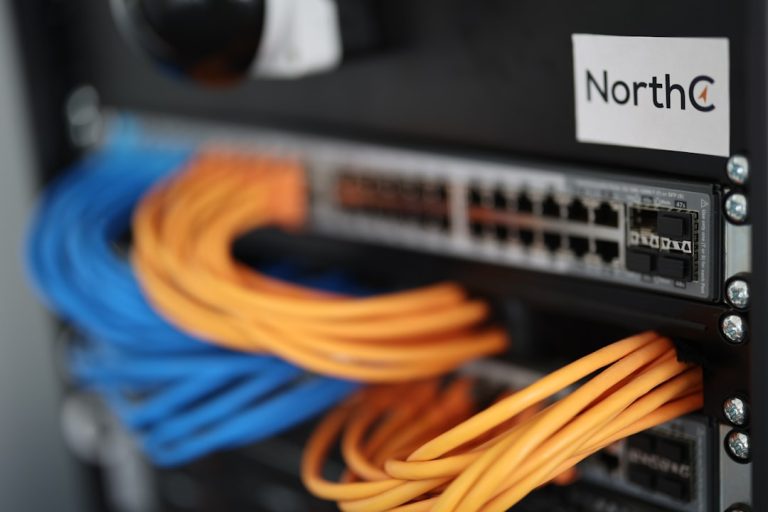
Patch panel: All incoming cable runs terminate here. Labels identify each run. Short patch cables connect patch panel ports to your switch.
Switch: Your main managed switch lives here. All devices in the home connect through it.
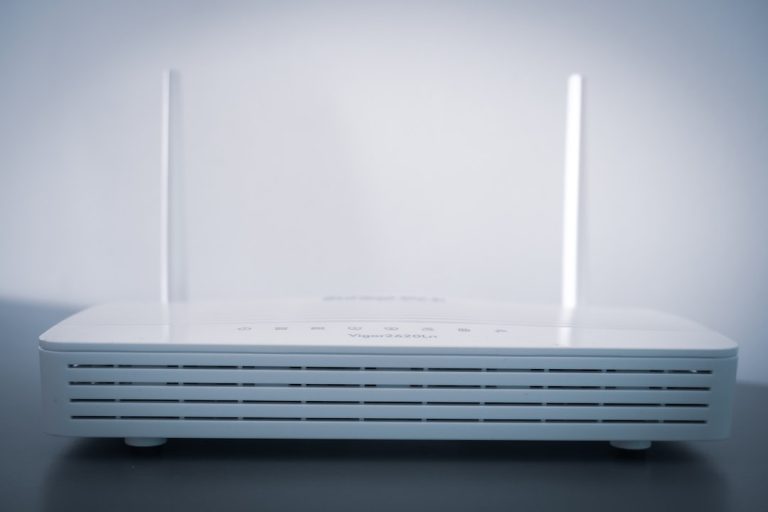
Router/Gateway: Connects to your ISP modem and the switch.
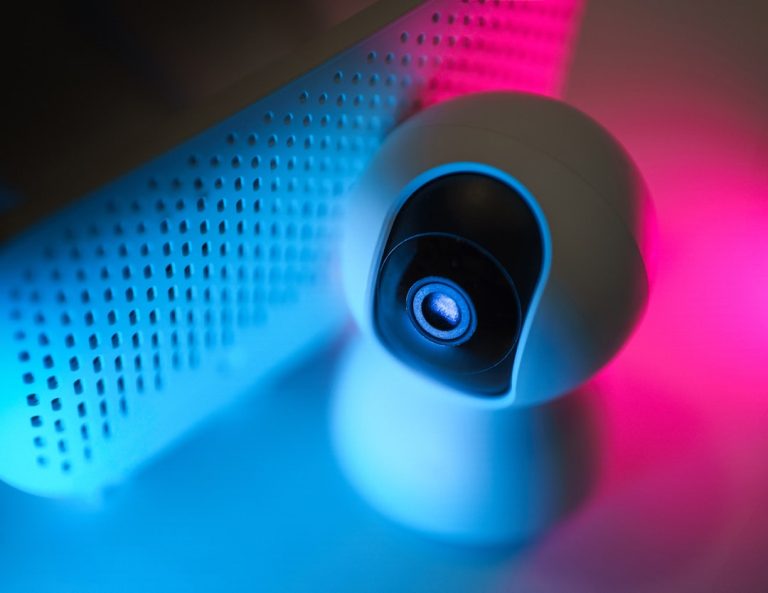
UPS (Uninterruptible Power Supply): Keeps your network running during brief power outages. Highly recommended for NAS and security cameras.
A 12U wall-mount rack is sufficient for most homes. Overkill feels right when everything is organized and labeled.
Multi-Gig Considerations
If you’re running Cat6A and plan to use 2.5G or 10G speeds:
- Your switch needs multi-gig ports
- Your NAS or PC needs a multi-gig NIC
- Standard Cat6 runs under 55m support 10GbE — verify your run lengths
See our PoE switch guide for multi-gig options
Access Points: Ceiling Mount is Best
If you’re running ethernet for wireless access points, ceiling-mount locations outperform wall mounts in almost every case. Omnidirectional AP antennas radiate in a sphere — ceiling mounting means the signal radiates downward into the living space rather than partly into the floor or ceiling.
Ideal AP placement: Center of each coverage zone, ceiling-mounted, with PoE power via the ethernet run itself (no separate power outlet needed).
Common Mistakes to Avoid
Running cable near electrical panels or fluorescent lights: High EMI areas degrade signal quality. Route around them.
Not testing before closing walls: Test every run with a cable tester before the drywall goes up. Fixing a bad termination behind a finished wall is expensive.
Skipping labels: Label every cable at both ends during installation. You will forget which run goes where.
Kinking cable: A kinked ethernet cable has permanently degraded performance. Replace it — don’t try to straighten it.
Mixing Cat5e and Cat6 in a run: The whole run performs at the lowest-rated segment. Use consistent cable throughout.
Bottom Line
Home network wiring is a weekend project for a handy homeowner or a professional install for those who’d rather not. Either way, the investment pays back for the life of the home — reliable ethernet connections that will outlast every WiFi generation you’ll ever buy.
Start with your most-used rooms and work outward. Even two or three well-placed ethernet drops transform how your network performs.
Prices checked February 2026. Affiliate links help support wiredhaus at no extra cost to you.
Tools and Materials: What You Actually Need
Don’t over-buy. For a standard home run with 4-8 drops, you need:
- Cat6A cable (not Cat7 — the connectors are proprietary and unnecessary for home use)
- RJ45 keystone jacks (tool-less punch-down type is fastest)
- Patch panel (24-port is standard; 12-port if you have fewer than 12 runs)
- Cable staples or J-hooks for routing through walls
- Fish tape or fish sticks for running through finished walls
- Drill with long bit for drilling through plates
- Cable tester (basic toner is fine; a Fluke is overkill for home use)
Planning Your Runs: Think Before You Drill
Every cable run should terminate at a central location — your network closet, utility room, or wherever your router lives. Avoid daisy-chaining or connecting rooms to each other; go home-run to the patch panel.
Map out your drops before drilling anything. Standard locations: behind the TV, beside the desk, near each access point location, and at least one drop in every bedroom. You’ll always wish you had more runs than you put in.
Check for fire blocking and insulation in walls before fishing cable. In two-story homes, drilling through top plates and fire blocks requires patience and long drill bits.
Pulling Cable: The Right Way
Pull cable from the destination back to the panel — it’s easier to guide the pull string. Leave 6-10 feet of extra cable at each end; you can always trim, you can’t add length. Label both ends of every run before you terminate anything. Use numbers, not location names — locations change, numbers don’t.
Bend radius matters for Cat6A: don’t kink the cable around sharp corners. Use cable clips that allow a gentle curve. A kinked cable won’t fail immediately but will degrade performance over time.
Terminating at the Patch Panel
Use T568B wiring standard throughout (it’s the US default). Punch down each pair following the color code on the keystone jack. Pair order matters: white-orange, orange, white-green, blue, white-blue, green, white-brown, brown.
Keep untwisted pairs as short as possible at termination points — industry spec says no more than half an inch. Excess untwisting introduces crosstalk and degrades throughput at high speeds.
After terminating, test every run before closing walls. A basic cable tester confirms continuity and correct wiring. A proper certifier (like a Fluke DSX) can verify Cat6A specs, but it’s rarely worth renting for a home install unless you’re troubleshooting a specific issue.
Switch Placement and Power
Your patch panel needs a PoE switch nearby. Size it to handle current drops plus 25% growth. A 24-port managed switch covers most homes and lets you set up VLANs, QoS, and port monitoring later. Unmanaged switches work but limit future flexibility.
Plan for power at your network closet: a UPS keeps your network running during brief outages. Even a small 600VA UPS buys 15-20 minutes of runtime for a switch and router.
Frequently Asked Questions
Is Cat6A worth it over Cat6?
For new installs, yes. Cat6A supports 10GbE at full 100-meter runs and is better shielded against interference. The price difference is minimal when you’re already doing the labor.
How do I run cable through a finished wall?
Locate studs with a stud finder, drill a small hole at the entry point, then use a fish tape or flexible drill bit to navigate the cavity. Walls with fire blocking require drilling through the blocking from above or below. Access from the attic or crawlspace simplifies most runs.
Can I hire someone for this?
Yes — look for low-voltage contractors or structured cabling companies. A 4-drop home run typically costs $800-$1,500 installed. DIY saves most of that cost if you’re comfortable with drilling and terminating.
Testing Your Installation
Every run should be tested before the walls close. A cable tester verifies continuity — that all 8 wires made it through the run intact and land on the correct pins at both ends. A basic tester costs $20-40 and is worth every cent.
What to test for:
- Continuity on all 8 wires — any open indicates a broken wire or bad termination
- Correct pinout — wires must land on matching pins at both ends (T568B standard is most common)
- No shorts — wires touching each other cause link failures
- Split pairs — electrically connected but on wrong pins; a basic tester catches this, a fluke-style tester confirms it
After passing the cable tester, do a real throughput test: plug in a device, confirm link speed at the switch (1Gbps link should show in your switch management UI), then run a quick iperf3 test to confirm actual throughput matches expected performance. A properly terminated Cat6 run at 50m should deliver 940+ Mbps on a gigabit link.
Network Closet and Patch Panel Setup
All runs terminate at a central location — your network closet, utility room, or structured media panel. A 12-port or 24-port patch panel organizes all runs into a single rack location. From the patch panel, short patch cables connect to your switch.
Patch panel vs. direct termination: A patch panel lets you reconfigure port assignments without re-punching wall jacks. Direct termination (running cables straight to a switch) works but means opening walls or replacing cables if you ever want to move a device to a different switch port. Use a patch panel.
Cable management: Velcro ties or cable managers prevent the nest-of-snakes problem that makes future troubleshooting painful. Label every patch panel port with the room and jack number it connects to. A label maker here saves hours of debugging later.
Equipment options:
- Wall-mount shelf: Minimum viable solution for small installs (1 router, 1 switch, patch panel)
- 6U or 9U wall-mount rack: Accommodates UPS, patch panel, switch, and router with room to grow
- Full floor-standing rack: For larger installs with NAS, UPS, multiple switches
Always include a UPS in the network closet. Power blips that don’t trip your breaker will absolutely crash your switch and router — a small UPS prevents this and protects equipment from voltage spikes.